Understanding Your Hole Before You Start
Not all drywall damage is the same, and choosing the wrong repair method is the most common reason patches look obvious afterward. Size is the deciding factor.
- Nail holes and hairline cracks (under ½ inch): These need nothing more than spackle or lightweight joint compound pressed in with a finger or putty knife.
- Small holes (½ inch to 4 inches): A self-adhesive mesh patch or a pre-made peel-and-stick patch plate provides the backing needed to hold compound.
- Medium to large holes (4 inches and up): These require a California patch or a wood-backed drywall insert - essentially a miniature drywall panel anchored to wood strips inside the wall cavity.
Before gathering materials, press gently around the edges of the hole to check for soft or crumbling drywall. If the surrounding area flexes or crumbles, cut back to solid material first. Also check for electrical wires or plumbing behind the wall before cutting - use a stud finder with an AC detection mode, and proceed carefully.
What you will need
Gathering Your Materials
Having everything staged before you start saves frustration and prevents half-dried compound from sitting while you make a hardware run.
Lightweight joint compound (pre-mixed)
Used to fill, coat, and feather the patch to blend with the surrounding wall surface.
Putty knife or drywall knife (4-6 inch)
Spreads and smooths joint compound across the patch and surrounding area.
Self-adhesive mesh patch or drywall tape
Provides structural backing and prevents compound from cracking over holes larger than ½ inch.
Sanding sponge or 120-grit sandpaper
Smooths dried compound between coats and before priming.
Drywall primer
Seals the porous compound so finish paint applies evenly without the patch showing through.
Wood backing strips (1×3 or 1×4 pine)
Required for holes over 4 inches - anchored inside the wall to support a drywall insert.
Drywall saw or utility knife
Cuts ragged hole edges clean and square for a better-fitting patch insert.
Step-by-Step Patching Instructions
Follow these steps from preparation through final coat. Allow each coat of joint compound to dry fully - typically 24 hours at normal indoor humidity - before sanding or applying the next.
Clean and Prepare the Damaged Area
Using a utility knife or drywall saw, trim any loose or crumbling edges around the hole so you're working against solid drywall. For holes over 4 inches, cut the opening into a clean square or rectangle - it's far easier to fit a patch to a predictable shape. Remove any loose paper facing or debris from the edges.
Install Backing if Needed
For holes larger than 4 inches, cut two wood backing strips slightly longer than the hole's height. Slide each strip into the hole, hold it flush against the back face of the drywall, and drive drywall screws through the existing wall surface into each strip - one above the hole and one below. The strips act as ledgers for the patch insert. Cut a piece of drywall to fit the opening and screw it into the backing strips.
Apply Mesh Tape or Patch Over the Repair
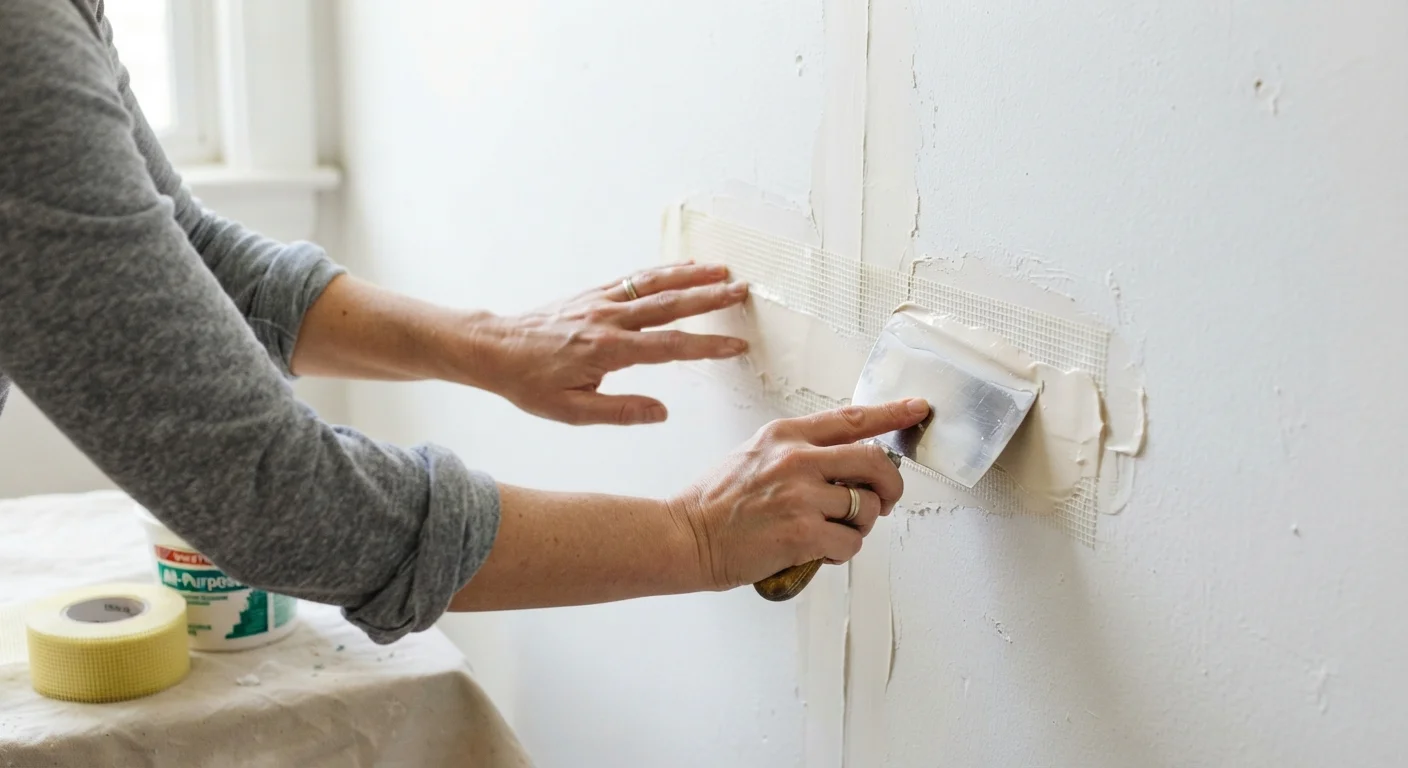
For small holes (under 4 inches), center a self-adhesive mesh patch directly over the hole and press firmly. For holes where you've installed a drywall insert, apply mesh drywall tape over all seams between the insert and the existing wall. Press tape flat with a putty knife to eliminate air pockets.
Apply the First Coat of Joint Compound
Load your putty knife with a modest amount of pre-mixed lightweight joint compound. Spread it over the patch in smooth, even strokes, pressing it firmly into the mesh. Extend the compound 2-3 inches beyond the tape on all sides. Scrape away excess and let this coat dry completely before proceeding - typically 24 hours.
Sand, Then Apply a Second (and Third) Coat
Once the first coat is fully dry, lightly sand with a 120-grit sanding sponge to knock down ridges. Wipe away dust with a damp cloth and let the surface dry. Apply a second coat, this time feathering the edges 6-8 inches out from the patch - use long, sweeping strokes and taper the compound to nearly nothing at the edges. A third thin coat may be needed for larger patches. Sand again between coats.
Prime and Paint
After a final light sanding with 150-grit paper, brush or roll a coat of drywall primer over the entire repaired area. Allow it to dry per the manufacturer's instructions. Once the primer is dry, apply your finish paint - ideally matching the sheen level and color of the surrounding wall. Two thin coats of paint usually produce the most seamless result.
Texture Matching Takes Practice
If your walls have a texture - orange peel, knockdown, or skip trowel - the repaired area will need to be retextured before painting. Aerosol texture sprays work for simple orange-peel finishes. For more complex textures, practice on a piece of cardboard first to dial in your technique before applying to the wall.
Common Problems and How to Avoid Them
Even careful patching can go sideways. Here are the most frequent issues and their fixes:
- Shrinkage cracks
- Applying compound too thickly causes it to crack as it dries. Always apply thin coats and build up gradually - three thin coats beat one thick one every time.
- The patch shows through the paint
- This almost always means primer was skipped or applied too thin. Joint compound is highly porous and absorbs paint unevenly without a sealing coat of drywall primer first.
- Visible mesh tape edges
- The feathering step was cut short. Compound must extend 6-8 inches beyond the tape on all sides, thinning gradually to nothing, so the transition disappears.
- Patch feels hollow or sounds different when tapped
- For larger holes, the backing strips may not be anchored firmly. Re-open the patch, add additional wood backing screwed into solid drywall on each side, and repeat.
When to Stop and Call a Professional
If your drywall shows widespread water staining, mold, or the damage spans multiple panels, the underlying cause - a plumbing leak, roof issue, or moisture problem - must be addressed before any cosmetic repair. Patching over active moisture damage will fail quickly and could mask a worsening structural problem. A licensed contractor or inspector is the right call in those situations.