Phase 1: Planning and Design
Every successful kitchen remodel begins well before anyone picks up a tool. The planning phase establishes your scope, budget, and layout - and decisions made here ripple through every phase that follows.
Start by defining what you actually need to change. Are you reconfiguring the layout, replacing surfaces only, or doing a full gut renovation? These three approaches differ enormously in cost, timeline, and disruption. A layout change - moving the sink, relocating appliances - involves plumbing and electrical work that a surface refresh does not.
Sketch your existing kitchen dimensions carefully, noting window and door locations, ceiling height, and the position of existing utilities (gas lines, electrical panels, drain locations). Many homeowners use this stage to consult a kitchen designer or architect, particularly if the project involves removing walls. Before you go further, read our guide on open-plan renovations to understand the structural and HVAC trade-offs involved in opening up a kitchen.
Set a realistic budget with a contingency of at least 15-20% for surprises. Once you have a design direction, get itemized quotes from contractors before finalizing material selections - what looks affordable in a showroom may not account for installation complexity.
Lock in your cabinet order before finalizing any other material selections - cabinets set the dimensions that everything else (countertops, appliances, backsplash) must fit around, and lead times commonly run 6-12 weeks.
Cabinetry is typically the longest-lead item in a kitchen remodel. Starting with appliance or countertop selections before cabinets are confirmed is a common sequencing mistake that causes expensive delays.
When evaluating contractor bids, ask each bidder to use an identical scope-of-work document so you're comparing the same labor and materials - not making assumptions about what's included.
Bid comparisons are only meaningful when they cover the same scope. Vague bids often exclude items like debris disposal, permit fees, or subcontractor coordination that surface as add-ons later.
Phase 2: Permits and Inspections
Most kitchen remodels require at least one permit, and many require several. Electrical panel upgrades, new circuit runs, plumbing relocations, gas line work, and structural changes (such as removing a load-bearing wall) all typically require permits under US building codes - though requirements vary by municipality.
Skipping permits is not a shortcut. Unpermitted work can complicate a home sale, void homeowner's insurance claims, and create liability if something fails. Our detailed guide on permits and inspections explains which projects trigger requirements and how the process works in practice.
Never Close Walls Before Inspection
Rough-in electrical, plumbing, and gas work must be inspected by a municipal inspector before drywall goes up. Closing walls before inspection means opening them back up - an expensive and avoidable mistake. Confirm your inspection is scheduled and passed before any insulation or drywall is installed.
Apply for permits before demolition begins. Inspections are typically staged: a rough-in inspection occurs after new plumbing, electrical, and HVAC work is roughed in but before walls are closed, and a final inspection happens once work is complete.
Phase 3: Demolition
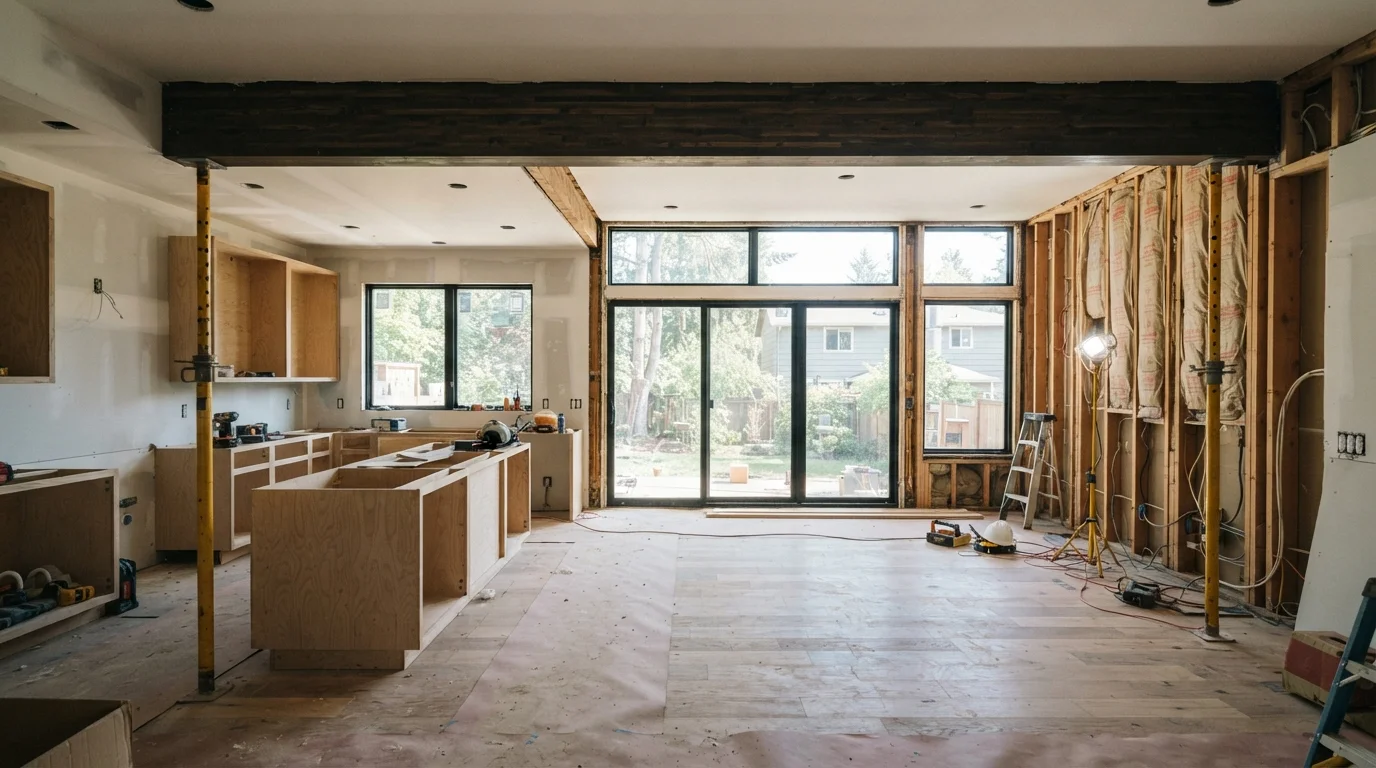
Once permits are in hand, demolition begins. This phase moves quickly but requires careful sequencing. Turn off electricity to the kitchen at the breaker panel, shut off water supply lines, and disconnect the gas range or cooktop before any cabinets or appliances are moved.
Remove appliances first, then upper cabinets, then base cabinets. Flooring removal - if planned - generally comes last since it can be damaged by foot traffic during the rest of demolition. If you're keeping existing flooring, protect it with rosin paper or hardboard sheeting throughout the project.
Older Homes: Test Before You Demo
Homes built before 1980 may contain asbestos in floor tiles, drywall joint compound, or pipe insulation, and lead paint on surfaces. Disturbing these materials without proper testing and abatement can create serious health hazards. Hire a certified inspector to test before demolition begins in any older home.
Drywall removal reveals what's inside your walls: old wiring, outdated plumbing, insulation gaps, or occasionally mold or pest damage. Budget time and money to address what you find. This is also when you'll confirm whether any walls are load-bearing, which affects your layout plans.
Phase 4: Rough-In Work
Rough-in work covers all the behind-the-wall infrastructure: plumbing supply and drain lines, electrical circuits and junction boxes, HVAC ductwork, and gas lines if applicable. This is the most technically complex phase and the one most homeowners should not attempt without licensed tradespeople.
Your licensed electrician will run dedicated circuits for high-draw appliances (refrigerator, dishwasher, microwave, range), install GFCI outlets near water sources, and ensure the panel can handle the load. A licensed plumber relocates or adds supply and drain lines per your new layout. If ventilation is changing - particularly if you're adding or repositioning a range hood - an HVAC technician handles duct routing.
6-12 weeks
Typical cabinet lead time after ordering
Semi-custom and custom cabinetry commonly takes 6-12 weeks to manufacture; in-stock ready-to-assemble options are faster but offer fewer configurations.
15-20%
Recommended contingency budget
Home renovation industry guidance consistently recommends setting aside 15-20% of the total project budget to cover unexpected structural, mechanical, or material issues uncovered during work.
1-3 weeks
Stone countertop fabrication time post-template
After a fabricator takes field measurements, natural stone and engineered quartz countertops typically require 1-3 weeks of off-site fabrication before installation.
After rough-in work is complete and inspected, walls are closed up with drywall. Taping, mudding, and priming the drywall follows - this must fully cure before painting.
Phase 5: Cabinetry, Countertops, and Appliances
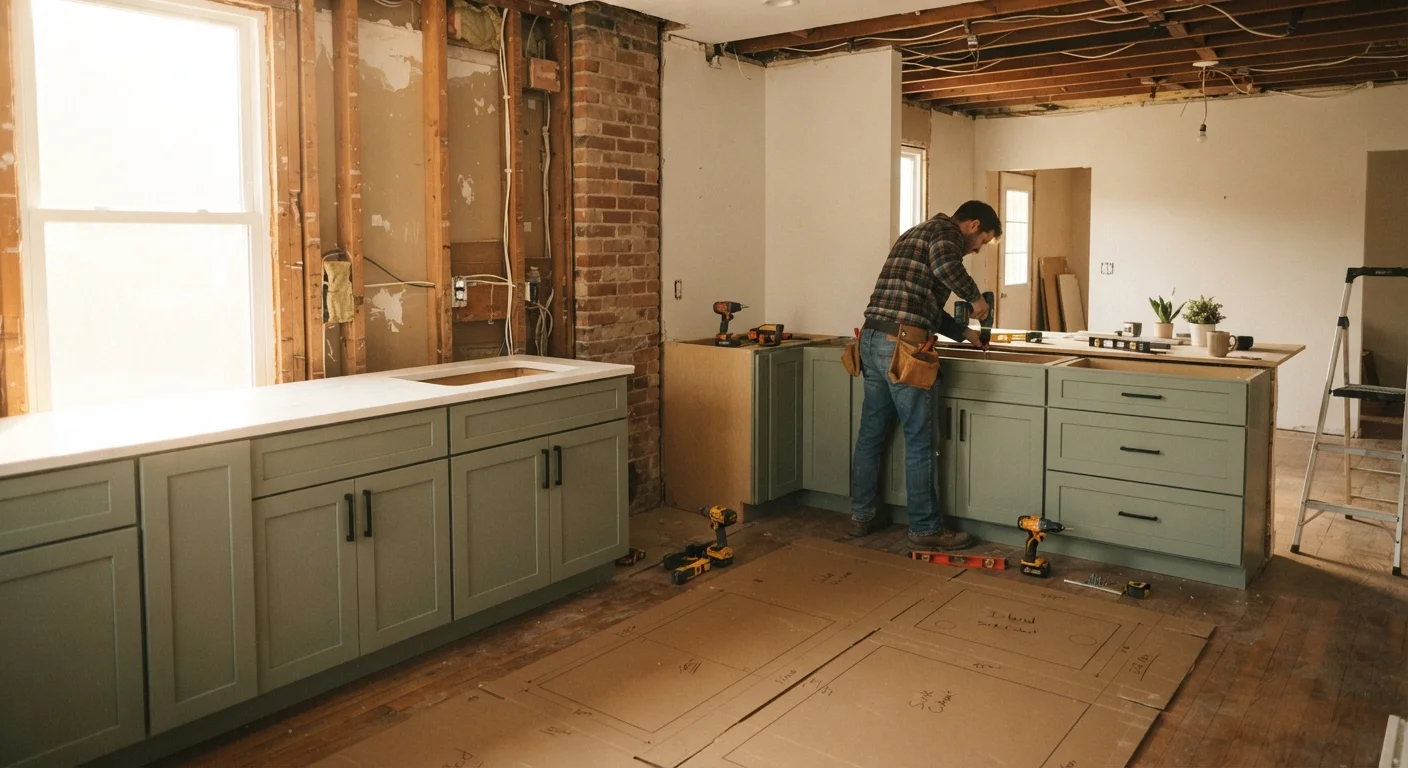
Cabinet installation begins once walls are primed and floors are protected. Installers start with upper cabinets - it's easier to reach when lower cabinets aren't in the way - then move to base cabinets. Cabinets must be level and plumb regardless of whether the floors and walls are perfectly true; shimming is standard practice.
Countertop templating happens after cabinets are installed and secured, not before. A fabricator visits the site to take precise measurements, then the countertop is fabricated off-site. Stone and engineered quartz typically require 1-3 weeks of lead time after templating. Plan accordingly: your kitchen will be without a functional sink and counters during this window.
Appliances are typically delivered and positioned once countertops are installed, though they are often not fully connected until final walkthrough. Built-in appliances (wall ovens, drawer microwaves) require exact cabinet rough openings - verify measurements before ordering.
Order Hardware Before Installation Day
Cabinet hardware - pulls, knobs, hinges - should be on hand before installation begins so any drilling needed can be done while cabinets are accessible. Ordering after the fact often means delays, especially for custom or specialty finishes. Confirm quantities by counting every door and drawer in your plan.
Phase 6: Finishing and Final Inspection
The finishing phase encompasses everything that makes the kitchen look and feel complete: painting walls and ceiling, installing tile backsplash, hanging cabinet hardware, adding trim and crown molding, installing light fixtures and switch plates, and laying or finishing flooring if it wasn't done earlier.
Backsplash tile goes in after countertops are installed so the tile can sit on top of the counter edge. Flooring that runs under toe kicks should be installed before base cabinets; flooring that butts against them goes in after. These sequencing details matter - do them out of order and you create extra work.
Once all finish work is complete, schedule your final inspection. The inspector verifies that all permitted work matches what was approved and meets code. After sign-off, you can do a final clean, load in your items, and begin using the kitchen.
Before restocking your kitchen fully, this is also a good moment to evaluate what you actually need - our guide on decluttering a home without getting overwhelmed offers a practical approach to deciding what makes it back into your new cabinets.
Timeline Expectations Vary Widely
A cosmetic kitchen refresh might take 2-3 weeks; a full gut renovation with layout changes typically runs 8-16 weeks, depending on contractor availability, permit timelines, and material lead times. Supply chain variability is a real factor - build schedule flexibility into your expectations from the start.
This article is for general informational purposes only. Always consult licensed professionals for electrical, plumbing, gas, and structural work, and verify permit requirements with your local building department before starting any renovation project.