Why Fluid Checks Belong in Every Driver's Routine
Your vehicle relies on a network of fluids to lubricate moving parts, transfer heat, transmit pressure, and keep the windshield clear. When any one of them drops too low or degrades, the consequences range from reduced performance to expensive mechanical failure. The encouraging reality is that checking these fluids yourself is one of the most accessible forms of routine vehicle maintenance - no ramps, no specialty tools, and no mechanical background required.
For a broader look at where DIY maintenance makes sense and where professional help is essential, see our guide on what's genuinely safe to do yourself. Fluid inspections firmly belong in the safe column.
Before you begin, gather what you'll need:
What you will need
Owner's Manual
Identifies the correct fluid type, grade, and capacity for each system in your specific vehicle.
Clean Lint-Free Rags
Used to wipe the dipstick clean before taking an accurate oil reading.
Funnel
Helps add fluid to narrow reservoir openings without spilling.
Flashlight or Headlamp
Improves visibility when inspecting reservoirs in dim engine bays.
Gloves (nitrile or latex)
Protects hands from brake fluid and other fluids that can irritate or stain skin.
How to Check and Top Off Each Fluid
Work through each fluid system in order. There's no strict sequence required, but starting with engine oil and coolant - the two most critical - ensures the highest-stakes systems are addressed first. Always confirm the correct fluid specifications in your owner's manual before adding anything.
Never Open the Coolant Cap on a Hot Engine
The cooling system operates under pressure. Opening the radiator cap or coolant reservoir when the engine is hot can cause scalding steam and fluid to eject violently. Always allow the engine to cool for at least 30 minutes before opening any coolant reservoir cap.
Park on Level Ground and Let the Engine Cool
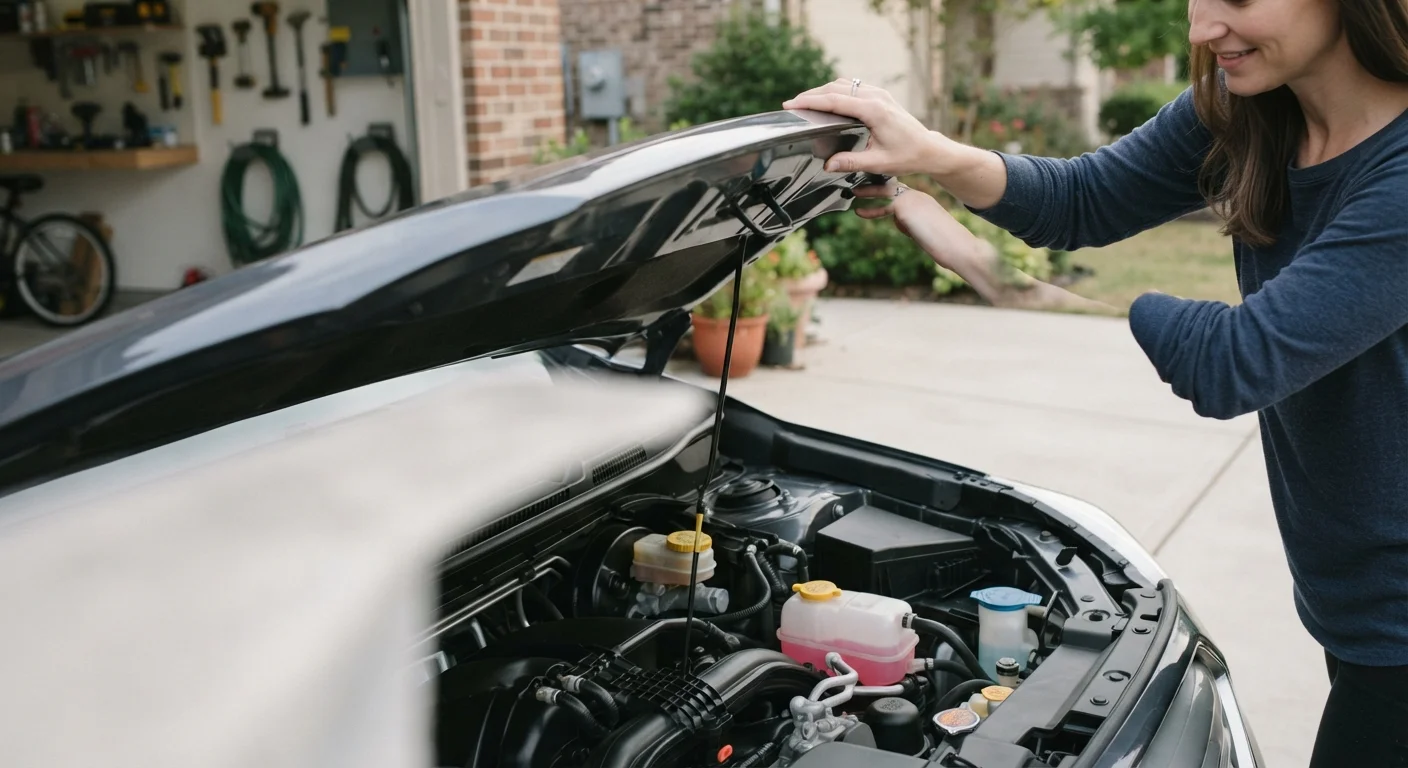
Pull your vehicle onto a flat, level surface and turn off the engine. Allow at least 30 minutes of cooling time before opening the hood. Checking fluids on a slope skews dipstick readings, and a hot engine presents burn and pressure hazards.
Check the Engine Oil
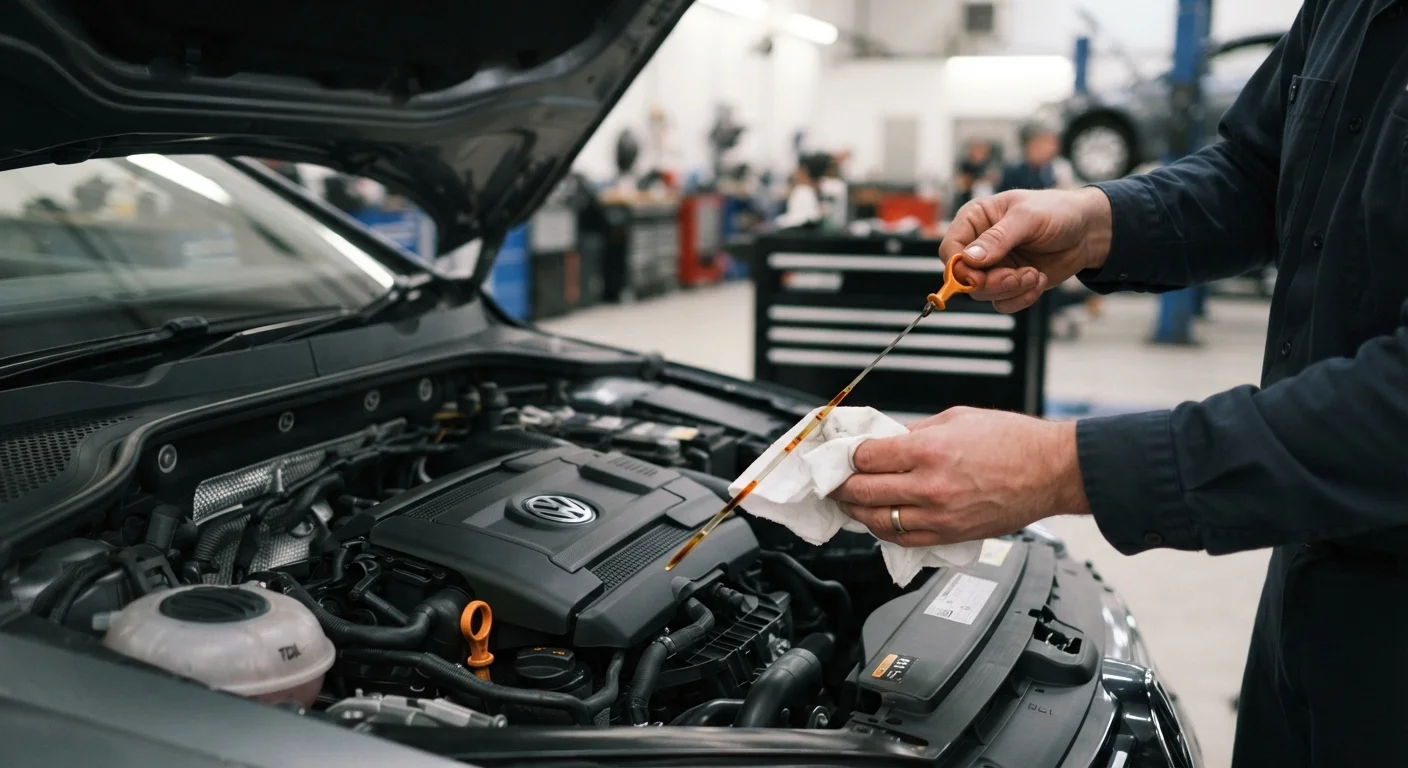
Locate the oil dipstick - typically marked with a bright handle near the front of the engine. Pull it out, wipe it clean with a rag, reinsert it fully, then withdraw it again. Read the oil level against the MIN and MAX markers etched on the dipstick. The oil film should appear amber to dark brown; black or gritty oil is a sign the vehicle is overdue for an oil change.
If the level is below the MIN mark, add small amounts of the manufacturer-specified oil grade through the filler cap (usually labeled with an oil-can icon) until the level reaches the acceptable range.
Inspect the Coolant (Antifreeze) Reservoir
The coolant reservoir is a translucent plastic tank connected by a hose to the radiator. With the engine fully cool, check the fluid level against the LOW and FULL markings on the side of the tank. Coolant should appear green, orange, or pink depending on the type - never rusty or murky.
If the level is low, add the correct pre-mixed coolant type (consult your owner's manual - mixing incompatible types degrades protection). Pour slowly into the reservoir, not the radiator cap directly.
Check the Brake Fluid
The brake fluid reservoir is typically a small semi-transparent container mounted near the firewall on the driver's side. The level should sit between the MIN and MAX lines visible through the reservoir walls. Brake fluid is hygroscopic - it absorbs moisture over time - so it gradually darkens. Very dark fluid may indicate it's due for professional replacement.
If the level is low, use only the fluid grade marked on the reservoir cap (commonly DOT 3 or DOT 4) and add cautiously. If the reservoir empties frequently, have a mechanic inspect the brake system promptly.
Check the Power Steering Fluid (If Applicable)
Many newer vehicles use electric power steering and have no fluid reservoir. On vehicles with hydraulic systems, the power steering reservoir is usually a small capped container near the engine belt. Some have a dipstick built into the cap; others use MIN/MAX lines on the reservoir body.
If low, add only the fluid type specified by the manufacturer. Note that power steering fluid level rarely drops under normal circumstances - low levels often point to a leak worth investigating.
Top Off the Windshield Washer Fluid
The washer fluid reservoir is the easiest of all - a large, clearly labeled translucent tank. Remove the cap and fill to the indicated line using commercially available washer fluid. Do not substitute plain water in freezing climates, as it will freeze in the lines and reservoir. Most washer fluids are pre-mixed for a range of temperatures.
Match the Fluid to Your Owner's Manual
Your vehicle's owner's manual specifies the exact fluid type and grade for every reservoir. Using the wrong viscosity of engine oil, or mixing incompatible coolant types, can reduce protection or cause damage. When in doubt, the manual is the authoritative source - not the label on the shelf.
When Low Fluids Signal a Bigger Problem
Occasional minor top-offs are normal, especially for engine oil in higher-mileage vehicles. What isn't normal is a reservoir that drops consistently between monthly checks. Brake fluid, in particular, should hold its level unless pads are worn or a leak is present. Coolant loss can point to a failing gasket or a small leak in the hose network.
Consistently Low Fluids May Signal a Leak
Needing to top off the same fluid repeatedly - especially engine oil or brake fluid - is not normal. It can indicate a slow leak or internal consumption problem. If a reservoir empties between checks, have a qualified mechanic inspect the vehicle before continuing to drive.
Pair regular fluid checks with the seasonal inspections outlined in our seasonal car maintenance checklist - certain fluids, particularly coolant and washer fluid, need closer attention before temperature extremes hit. And if you want a complete picture of how fluid maintenance fits into long-term ownership, our overview of keeping a car running well for the long haul ties these habits into a broader strategy for protecting your vehicle's reliability and value.