What Grout Actually Does - and Why It Fails
Grout is more than a finishing touch. It fills the joints between tiles, blocks moisture from reaching the substrate beneath, and helps the tile field behave as a unified surface. When grout cracks, that barrier weakens - but the crack itself is usually a clue, not the core issue.
Understanding grout failure starts with recognizing what the material works against every day: normal building movement, thermal expansion and contraction, and installation decisions that may have cut corners at a critical stage. Reading those cracks correctly is what separates a quick repair from an expensive repeat visit.
The Most Common Causes of Cracked Grout
Most grout cracks trace back to one of a handful of root causes:
- Subfloor or wall deflection. Tiles are rigid; the structure beneath them is not always. If a floor flexes too much under load - common in older homes or spans that exceed recommended deflection limits - grout joints absorb that stress and eventually give way.
- Missing expansion joints. Tile installations expand and contract with temperature and humidity. Industry guidelines call for movement accommodation joints at regular intervals across large floor fields and wherever tile meets a dissimilar surface. Without them, the grout has nowhere to go and cracks under compression.
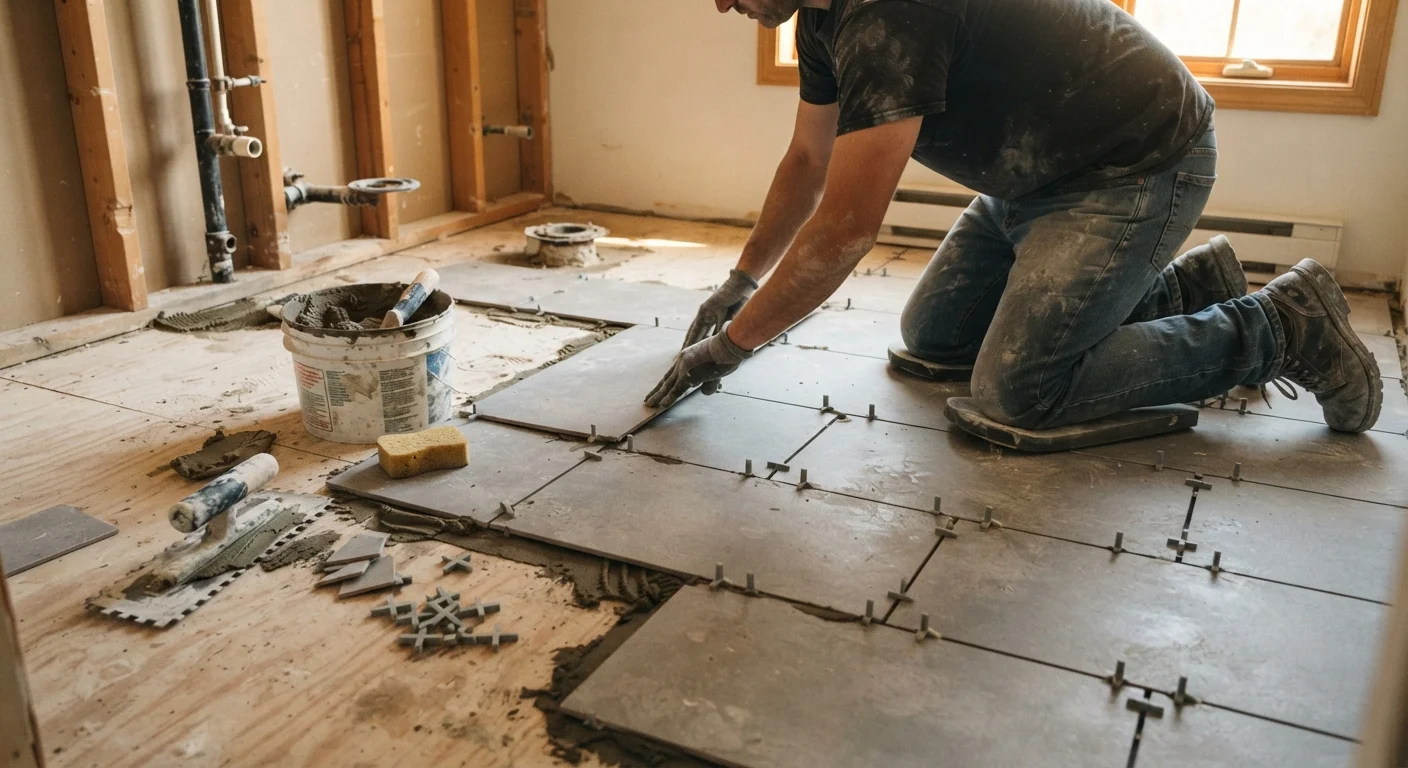
- Premature grouting. Thin-set mortar needs adequate time to cure fully before grout is applied. Grouting too early means movement in the still-curing mortar transfers directly into the joints - one of the most common installation errors. Explore how other installation missteps lead to similar failures.
- Wrong grout type or mix ratio. Using unsanded grout in joints wider than 1/8 inch, or adding excess water when mixing, weakens the grout's structure and makes cracking significantly more likely.
Surface Shrinkage Is Normal - At First
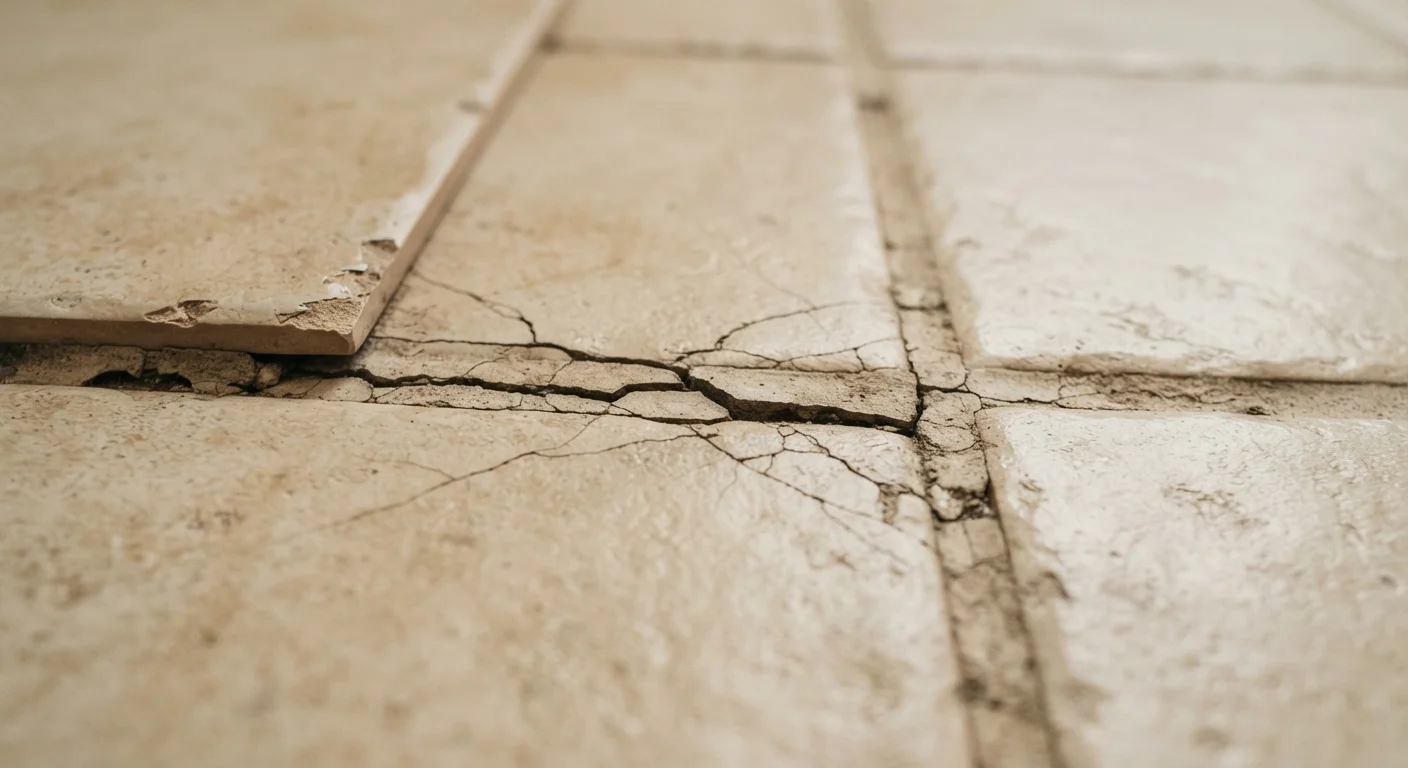
Fine hairline cracks that appear shortly after a fresh tile installation can result from normal grout shrinkage as it cures, particularly in wider joints. These are typically shallow and stable, and may not require immediate intervention. The concern rises when cracks deepen, spread across multiple joints, or return after repair - those patterns suggest movement or a substrate issue is the real driver.
Cosmetic Crack vs. Structural Warning Sign
Not all cracks carry the same message. A single hairline crack in a low-traffic area may be nothing more than minor surface shrinkage. But certain patterns deserve closer attention:
- Cracks running diagonally across multiple tiles or joints can indicate foundation settlement or significant structural movement in the building.
- Grout that crumbles or falls away entirely - rather than simply cracking - suggests chronic moisture infiltration or persistent movement beneath the surface.
- Cracks that reappear within weeks of a fresh repair almost always point to an unresolved underlying issue.
- Tiles that sound hollow when tapped gently may have fully debonded from the substrate, meaning the mortar bond has failed.
Test Before You Regrout
Before applying new grout, tap each surrounding tile with a rubber mallet or the handle of a screwdriver. A solid, dense sound confirms good adhesion to the mortar beneath. A dull, hollow sound means the tile has lost contact with the mortar bed. Address any debonded tiles first - grouting over them traps moisture and the repair is unlikely to last.
If multiple tiles sound hollow, or if cracks are accompanied by visible tile movement underfoot, consult a licensed tile contractor before attempting any repair. Patching grout over a failed installation only delays a more involved - and more costly - fix.
What You Can Reasonably Handle Yourself
Surface cracks on a stable, well-bonded tile field are generally a manageable DIY repair. The process involves removing the damaged grout with a grout saw or oscillating multi-tool, cleaning the joint thoroughly, and applying fresh grout matched to the original joint width and color.
Before starting, press gently on each surrounding tile. Any movement means the adhesive layer has failed and regrouting alone will not solve the problem. Also confirm you are using the right grout type: sanded grout for joints wider than 1/8 inch, unsanded for narrower joints - using the wrong type is a common mistake that leads to early failure.
If cracking is widespread, or concentrated at wall-to-floor transitions where expansion joints should exist, address that missing joint before regrouting - otherwise the same cracks will return. For repairs involving structural concerns, extensive tile removal, or wet areas that may require permits, a licensed contractor is the right starting point rather than a DIY workaround.