Why DIY Tile Projects Fail More Often Than Homeowners Expect
Tiling looks deceptively manageable: set tiles, fill joints, done. But the gap between a YouTube tutorial and a long-lasting installation is wider than most people anticipate. Tile failures - cracked grout, loose tiles, uneven surfaces - usually trace back to a handful of avoidable decisions made before the first tile is ever pressed into place.
Understanding where things go wrong puts you in control. The mistakes below are the ones that show up most often in DIY tile jobs, along with clear explanations of why they happen and what you can do differently.
Skipping or rushing surface preparation before setting tile.
Why it happens: Homeowners are eager to see visual progress and underestimate how much substrate quality affects the finished result.
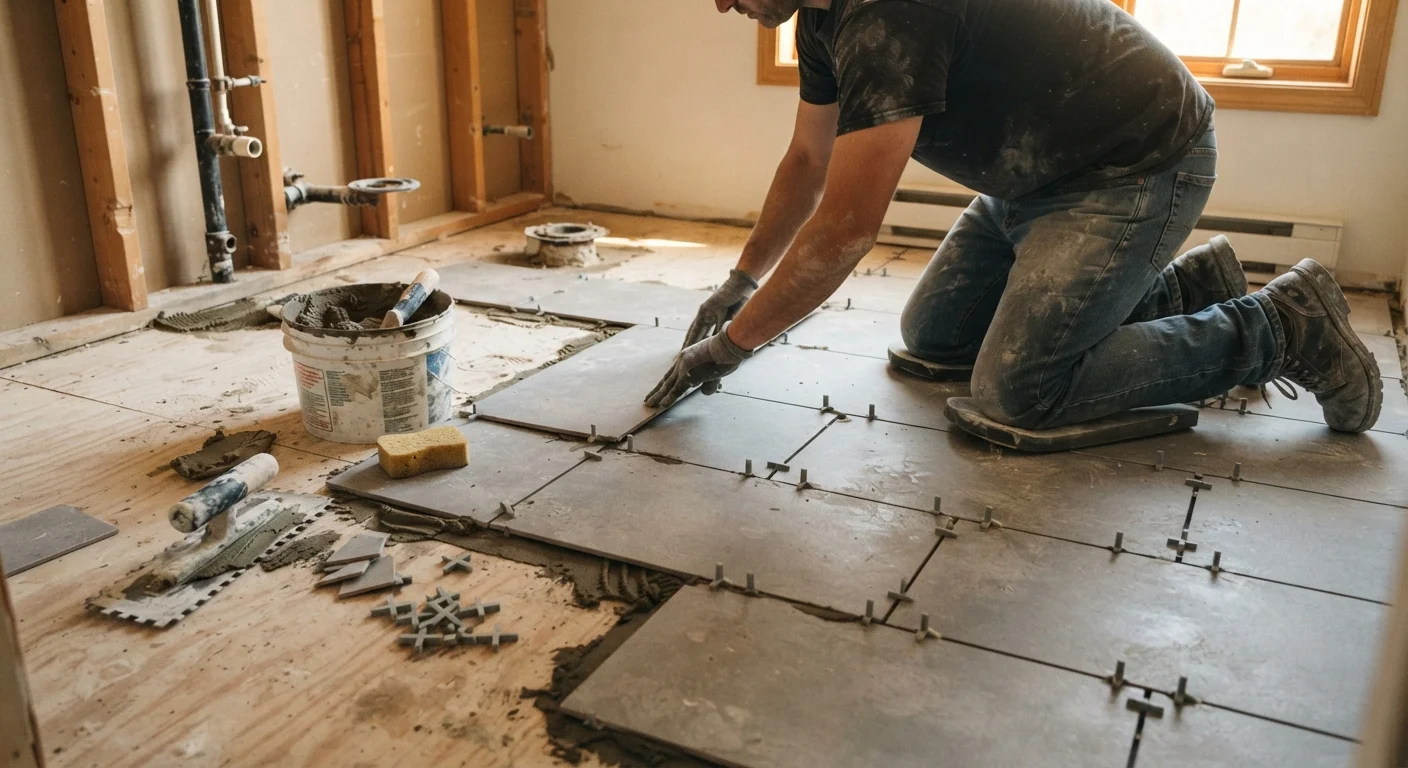
Using the wrong trowel notch size for the tile being installed.
Why it happens: Many first-timers use whatever trowel is on hand, not realizing notch size directly controls how much adhesive contacts the back of the tile.
Grouting too soon after setting tiles.
Why it happens: The adhesive or thin-set mortar may look dry on the surface while remaining wet underneath, especially in cooler or humid conditions.
Inconsistent tile spacing and ignoring layout planning.
Why it happens: Homeowners often start tiling from a corner wall rather than finding the true center of the room, resulting in slivers of tile at the most visible edges.
Ignoring lippage - the uneven stepping between adjacent tile edges.
Why it happens: Lippage is often assumed to be a setting error, but it frequently starts with an unlevel substrate or inconsistent tile thickness across a batch.
Mixing grout incorrectly or applying it in poor conditions.
Why it happens: Grout consistency is often judged by feel rather than measured ratios, and many DIYers apply grout in direct sunlight or on hot surfaces where it dries too fast.
What Tile Problems Are Really Telling You
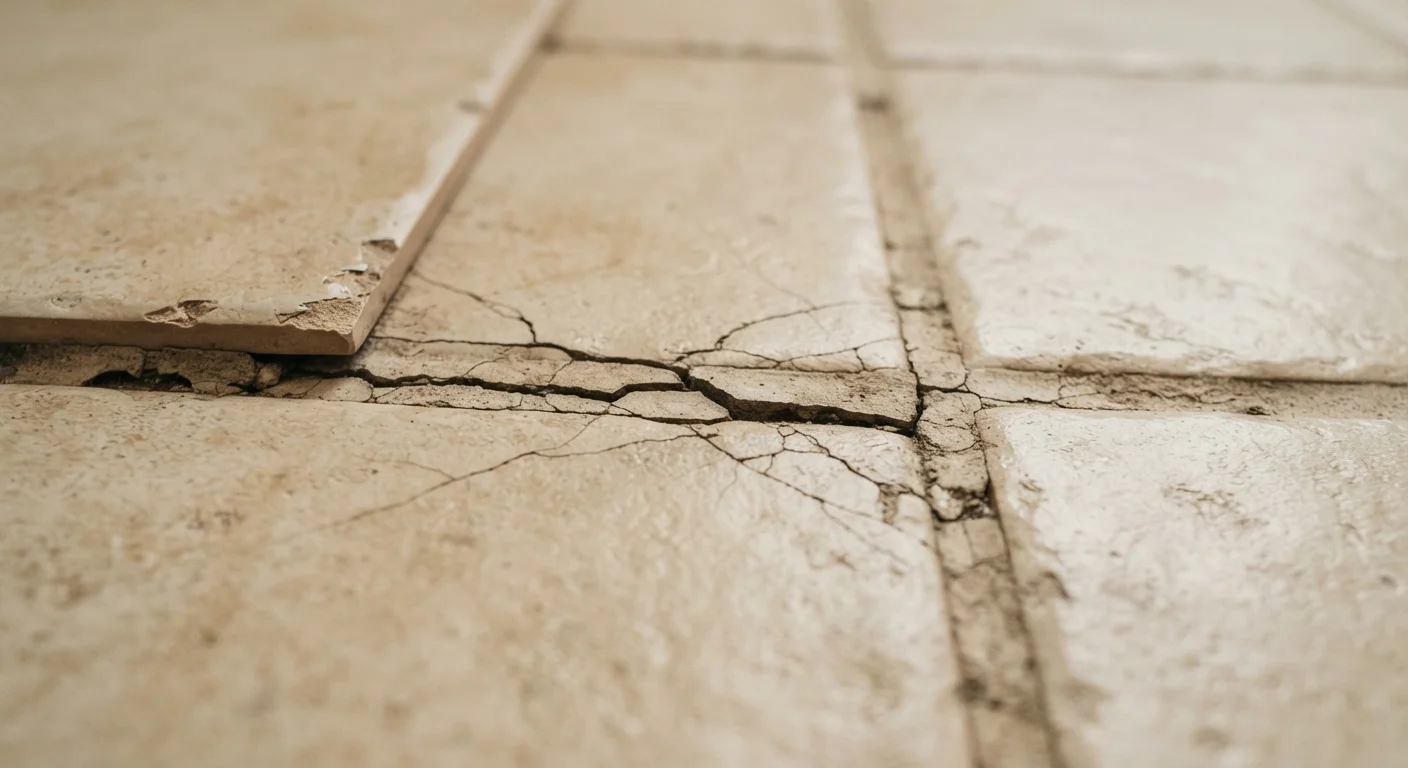
Most tile failures aren't random - they're symptoms. Cracked grout lines, for example, often signal movement in the substrate beneath rather than a problem with the grout itself. If you notice recurring issues after a tile repair, it's worth investigating the underlying surface before regrouting. See our guide to why grout cracks to understand when the problem runs deeper than cosmetics.
Similarly, tiles that pop loose within months of installation typically point to adhesive coverage that was too thin, a substrate that flexed, or moisture that was never properly managed. Addressing the root cause - not just the visible damage - is what separates a lasting repair from one you'll redo in a year.
Wet Areas Require Extra Caution
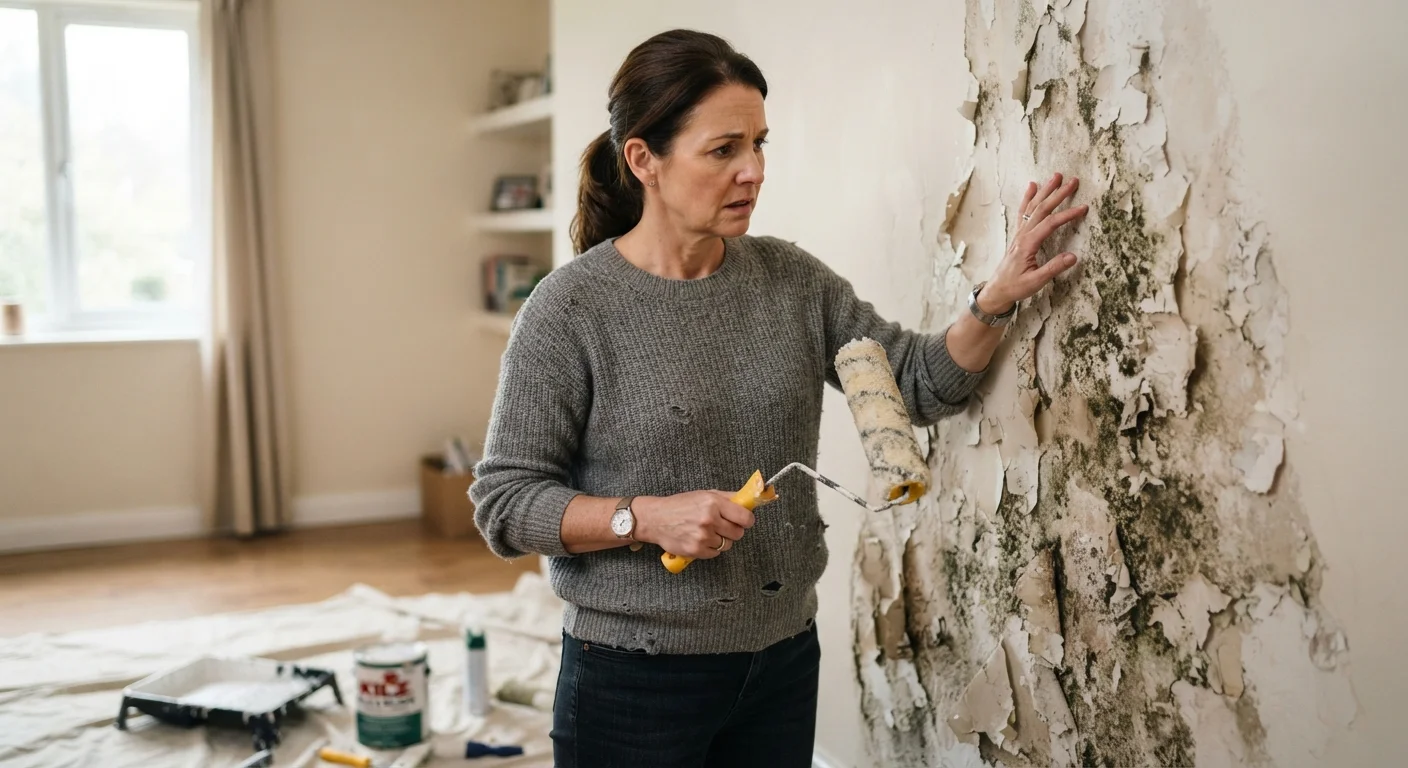
Shower walls, bathroom floors, and other wet areas demand waterproof membranes beneath the tile - not just water-resistant backer board. Skipping this layer is one of the most expensive mistakes a DIYer can make, as moisture intrusion behind tile can cause mold growth and structural damage that may not become visible for months. In most jurisdictions, shower installations must meet local building code requirements; verify what applies in your area before starting.
DIY tiling is genuinely achievable, but it rewards patience and preparation more than speed. If a project involves wet areas like showers or involves removing and replacing substrate, consulting a licensed tile installer before starting can save significant time and cost. The home improvement myths that lead homeowners astray are worth reviewing too - several apply directly to tile work.