What You Need Before You Begin
Setting up a budgerigar cage correctly before your bird arrives is one of the most important things you can do as a new owner. Rushing the process - or making substitutions with whatever is on hand - can lead to preventable injury, stress, or illness. If you're still weighing whether a budgie is right for you, our starter's overview for new small-pet owners covers the fundamentals of bringing any small animal home.
Before assembling anything, gather all supplies so you can place everything thoughtfully rather than moving it around once your bird has settled in. Repositioning cage furniture repeatedly stresses birds, so plan the layout in advance.
What you will need
Horizontal bar cage (18"+ wide, ½" bar spacing)
Provides the minimum safe flight space and prevents the bird's head from becoming lodged between bars.
Natural wood perches in 2-3 different diameters
Varying diameters exercise the foot muscles and prevent pressure sores that uniform dowels can cause.
Stainless steel or ceramic food and water dishes
Non-porous materials are easier to sanitize and do not harbor bacteria the way plastic can.
Cage liner paper or unbleached paper towels
Lines the cage tray for easy daily cleanup and allows you to monitor droppings for health changes.
Foraging and chew toys (untreated wood, rope, bells)
Provides mental stimulation and encourages natural foraging behavior.
Cuttlebone or mineral block
Supplies calcium and provides a safe surface for beak conditioning.
Cage cover (breathable fabric)
Used at night to signal rest time and reduce nighttime disturbances.
Choosing and Positioning the Cage
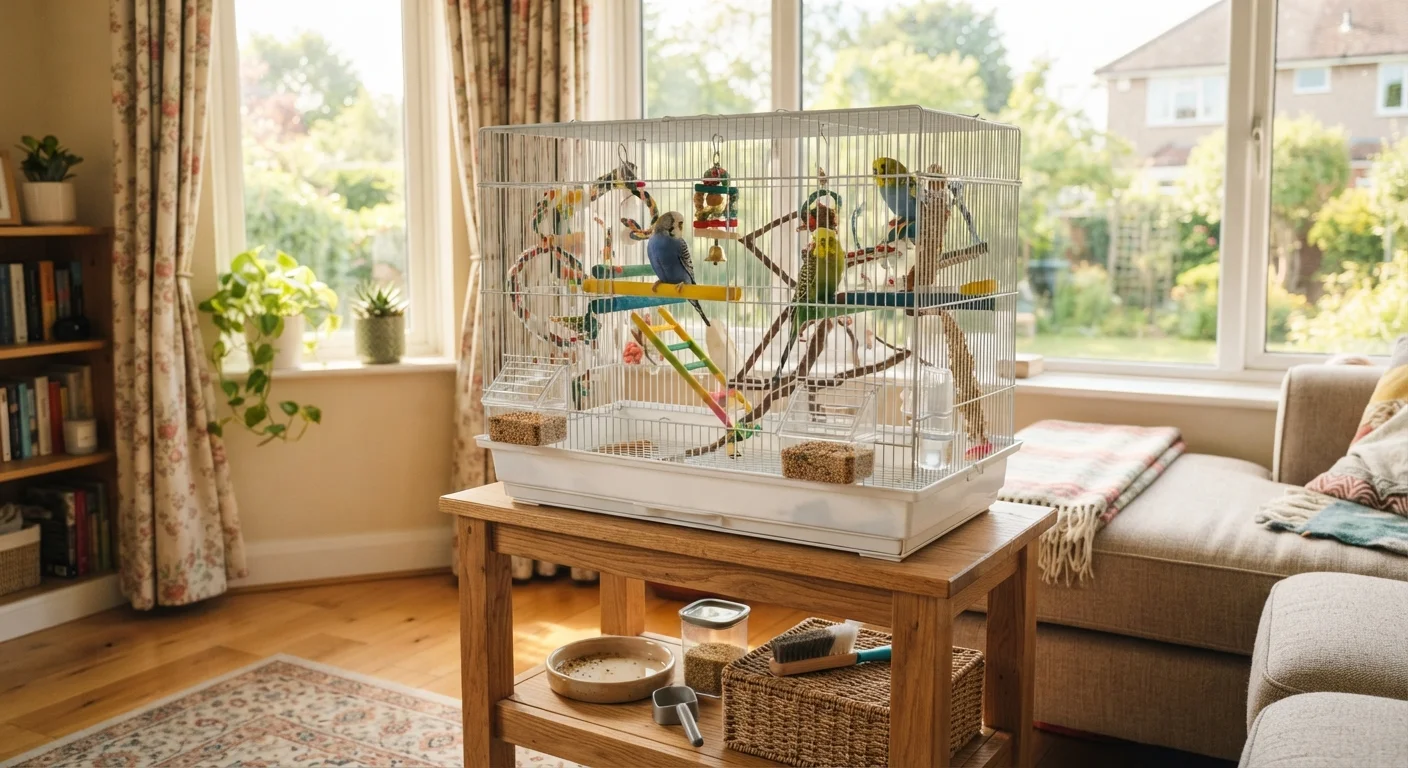
Budgies are active, social birds that move primarily side to side rather than up and down. This means width matters more than height when selecting a cage. The general guideline from avian care professionals is a minimum interior width of 18-24 inches for a single bird, with more space always preferable. Bar spacing should be no wider than ½ inch to prevent a bird's head from becoming trapped.
Select a location that is:
- At or slightly above human eye level - budgies feel vulnerable when caged at floor level
- Away from drafts, air vents, and exterior doors
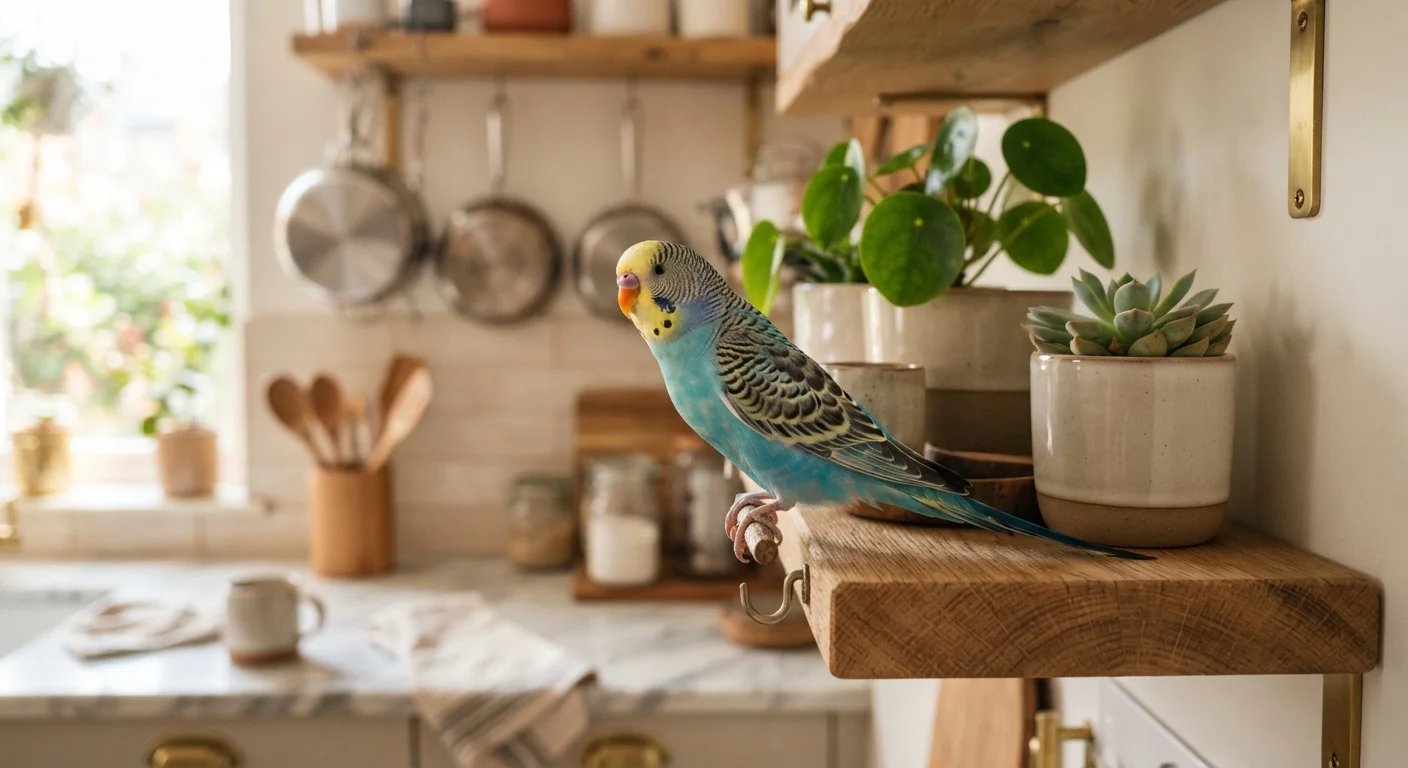
- Out of the kitchen, where cooking fumes - especially from non-stick cookware - can be fatal to birds
- Positioned to receive indirect natural light but not in direct afternoon sun, which can cause overheating
For a thorough look at in-home hazards, see our guide on indoor bird safety hazards most owners overlook.
Non-Stick Cookware Fumes Are Lethal to Birds
Polytetrafluoroethylene (PTFE), the coating used in many non-stick pans, releases fumes when overheated that can kill a budgie within minutes. This hazard extends to some non-stick bakeware, drip pans, and certain heat lamps. The kitchen should be considered an unsafe room for any pet bird, regardless of cage placement elsewhere in the home.
How to Set Up the Interior
Once the cage is positioned, follow the steps below to outfit the interior safely and effectively.
Clean the cage before adding anything
Wash the new cage thoroughly with warm water and mild dish soap, rinse completely, and allow it to air-dry. New cages can carry residue from manufacturing or packaging. Never use bleach, aerosol sprays, or ammonia-based cleaners without rinsing to bare metal - chemical residue is harmful to birds.
Line the cage tray
Cut unbleached paper or cage liner paper to fit the tray at the bottom of the cage. Avoid cedar or pine shavings - the aromatic oils in these woods are known to be harmful to birds' respiratory systems. Sand and corncob beddings are also discouraged, as they can conceal droppings and promote bacterial growth.
Install perches at staggered heights
Attach two to three perches at different heights and horizontal positions, ensuring the bird can move between them with a short flight rather than simply stepping. Perches should not be positioned directly over food or water dishes. The thickest perch (approximately ⅝-¾ inch diameter) encourages a fuller grip that exercises more of the foot.
Attach food and water dishes
Mount dishes on the cage bars at a comfortable perch height. Position the water dish away from any perch directly above it to prevent droppings from contaminating the water. If the cage includes a seed guard, ensure it is fitted before adding dishes so it doesn't dislodge them later.
Add toys and enrichment items
Hang two to three toys in the open flight area, leaving enough unobstructed space for the bird to move freely. Good first choices include a small mirror, an untreated wood chew toy, and a foraging item with hidden treat compartments. Avoid toys with small detachable parts, galvanized metal, or lead-based paint.
Attach a cuttlebone and place a mineral block
Clip a cuttlebone to the cage bars within easy reach of a perch. This provides calcium - important for bone and feather health - and a surface for natural beak wear. A mineral block can sit on the cage floor or be clipped at perch level as an alternative or supplement.
Do a final safety check before introducing your bird
Before opening the transport carrier, run through the following: no sharp wire ends inside the cage, all dish holders secured, no gaps where a foot or wing could become trapped between toys or perch hardware, and the cage door latch working properly. Verify the room is safe - windows and doors closed, ceiling fans off, and any other pets removed from the area.
Daily and Weekly Maintenance
Even the best initial setup requires consistent upkeep. Spot-clean the cage floor liner daily and replace it every one to two days. Wash food and water dishes with mild dish soap each morning before refilling them - standing water and leftover soft food spoil quickly and can harbor bacteria.
Perches should be scrubbed weekly. Rotate toys every one to two weeks to maintain novelty and mental stimulation; budgies habituate quickly to unchanged environments. A full cage wash with diluted white vinegar or a bird-safe disinfectant (rinsed thoroughly and fully dried before the bird returns) is appropriate monthly.
Track Droppings to Monitor Health
The cage liner does more than keep things tidy - it lets you observe your budgie's droppings each day. Healthy droppings have a dark solid component, a white or cream urate part, and a small liquid portion. Changes in color, consistency, or volume can be early signs of illness. Always consult an avian veterinarian if you notice anything unusual.
For guidance on preparing your wider home for a new small pet's arrival, the preparation checklist for new small-pet owners is a useful companion resource.