What Home Grooming Actually Covers
Cats are meticulous self-groomers, but their tongues can only do so much. Owner-assisted grooming fills the gaps: removing loose fur before it becomes a hairball problem, keeping nails at a length that won't snag or curve into paw pads, and spotting early signs of skin or ear issues before they escalate. If you're new to cat ownership, our guide for first-time cat owners covers the broader care foundation this routine fits into.
Home grooming is not a substitute for professional services in every situation, and it is not a replacement for veterinary care - but for routine maintenance, most owners can handle the basics confidently with the right tools and a little practice.
What you will need
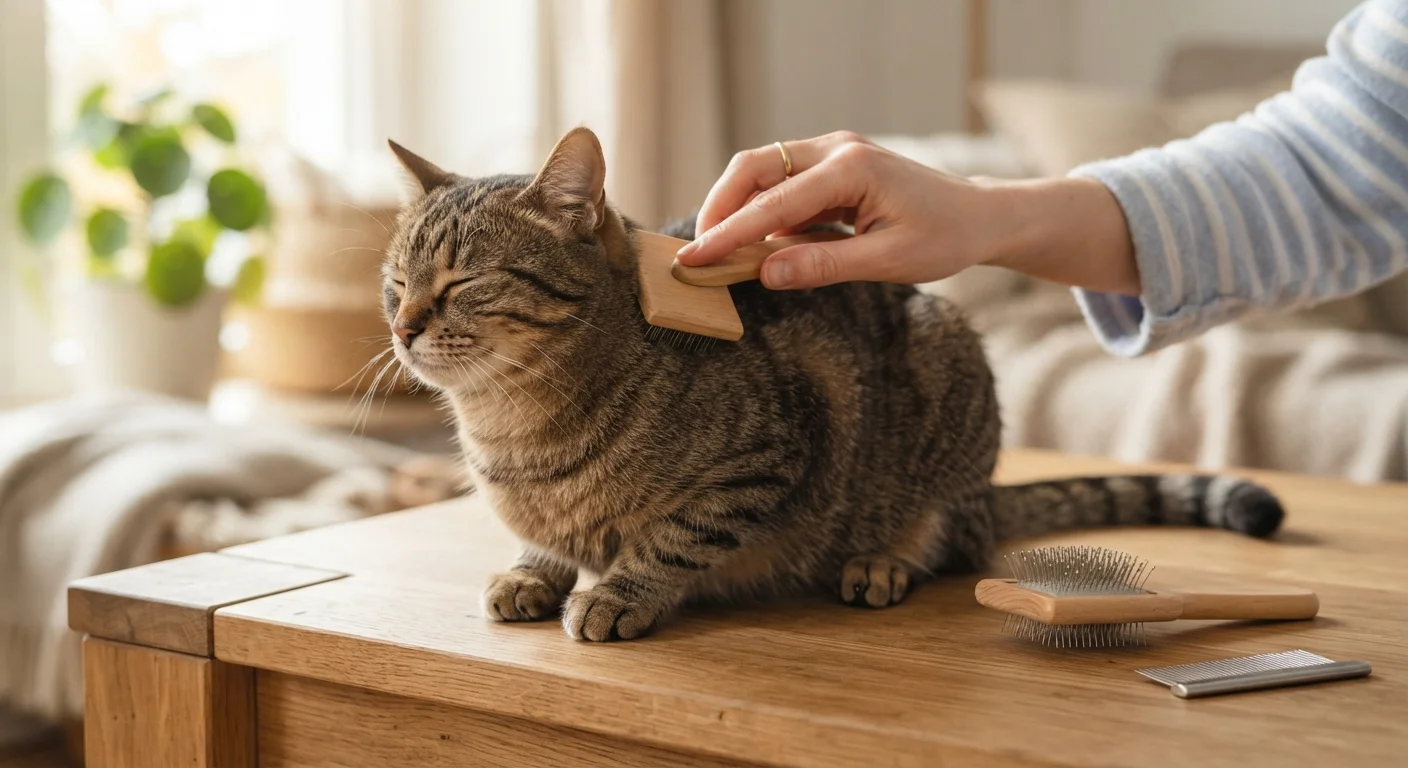
Slicker brush
Removes loose fur and minor tangles from a cat's coat without pulling skin.
Fine-tooth metal comb
Works through deeper tangles and checks for flea dirt or skin irregularities.
Cat nail clippers (scissor or guillotine style)
Designed for the angle and thickness of cat nails; safer and more precise than human clippers.
Styptic powder
Stops minor bleeding quickly if the quick of a nail is accidentally clipped.
Veterinarian-approved ear-cleaning solution
Loosens wax and debris from the outer ear canal without damaging delicate tissue.
Cotton balls or gauze pads
Used to gently wipe the outer ear after applying cleaning solution.
Grooming glove
An alternative to a brush for cats that resist traditional grooming tools; mimics petting.
Step-by-Step Home Grooming Routine
Follow these steps during each grooming session. Not every step will be needed every time - nail trims and ear checks don't need to happen as frequently as brushing - but grouping them into a consistent routine helps your cat learn what to expect.
Choose the right time and setting
Begin a grooming session only when your cat is already relaxed - after a meal or a nap is ideal. Select a quiet room away from loud appliances or other pets. Place a non-slip mat on a stable surface at a comfortable height for you. Keep sessions short at first: five minutes is enough to build familiarity without overwhelming your cat.
Brush the coat systematically
Start with a slicker brush, working in the direction of fur growth from neck to tail. Use light, even strokes - excessive pressure can cause brush burn on sensitive skin. Follow up with a fine-tooth metal comb, especially around the belly, armpits, and behind the ears where mats form most easily. For long-haired cats, work through small sections to avoid pulling.
Trim the nails safely
Gently press the toe pad to extend a claw. You will see a pink area inside the nail - this is the quick, which contains blood vessels and nerves. Clip only the clear, curved tip, staying at least 2 mm from the quick. Release the paw between nails if your cat becomes tense. Most adult cats need a trim every two to four weeks.
Inspect and clean the ears
Fold the ear flap back gently and look into the outer ear canal. Healthy ears are pale pink, odor-free, and have minimal wax. If you see a small amount of light-brown wax, apply a few drops of veterinarian-approved ear-cleaning solution, massage the base of the ear gently for 20-30 seconds, then let your cat shake its head before wiping the outer canal with a cotton ball. Never insert cotton swabs into the ear canal.
Do a quick whole-body health check
Use the end of every grooming session to scan your cat's skin and coat. Part the fur in several places and look for redness, flaking, bald patches, unusual lumps, or signs of fleas (small dark specks that turn red when wet). Check the eyes for symmetrical, clear discharge and the gums for healthy pink coloration. Note anything unusual and mention it at your next veterinary visit, or sooner if something looks acute.
Start Young, But It's Never Too Late
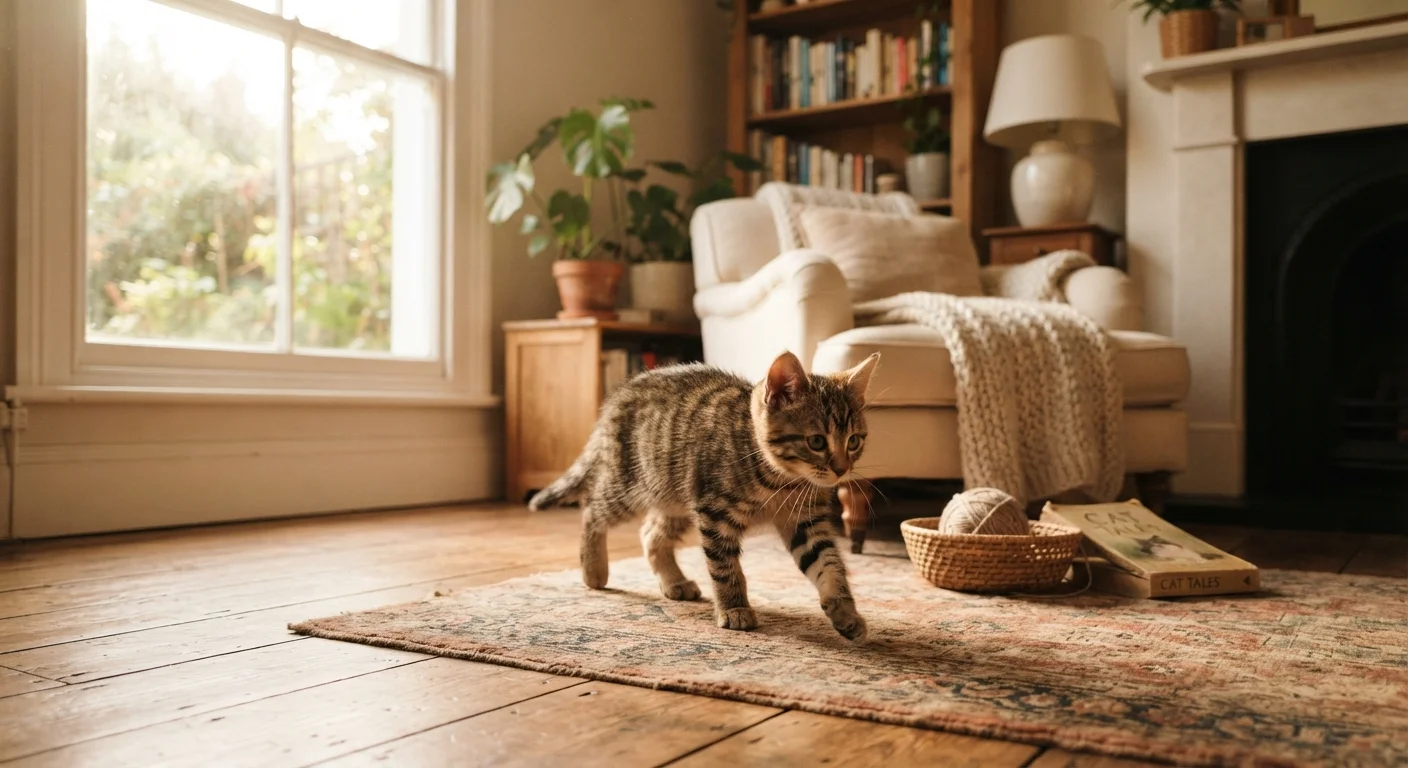
Kittens introduced to brushing and handling during the first weeks at home generally develop strong tolerance for grooming throughout their lives. Adult cats can also learn to accept grooming with patient, reward-based sessions. Consistency and short, positive exposures matter more than the cat's age.
When to Skip DIY and See a Professional
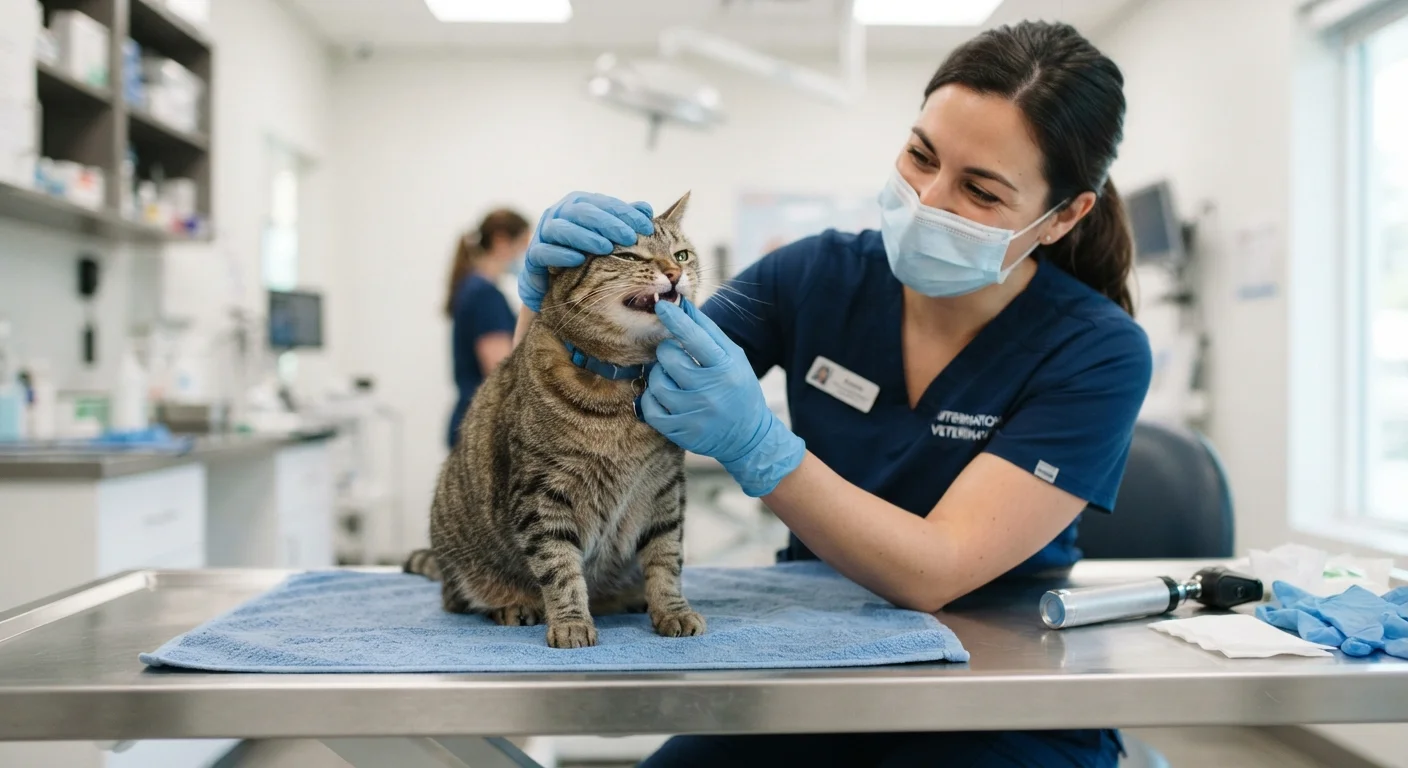
Certain grooming situations are beyond what most owners should attempt at home. Significant matting - particularly pelted coats where fur has locked tightly against the skin - requires professional de-matting or a veterinary shave-down under sedation in severe cases. Attempting to cut through dense mats at home is one of the most common causes of accidental lacerations in cats.
Persistent ear odor, head shaking, or scratching at one ear despite cleaning are symptoms that call for a veterinary exam, not repeated home cleaning. Similarly, if your cat's nails have grown so long that they have curved into the paw pad, that is a veterinary situation rather than a grooming one.
Bathing a Cat Carries Real Risks
Most cats do not need baths and find submersion extremely stressful. If a bath is genuinely necessary - after exposure to a toxic substance, for example - use only a shampoo formulated for cats and have a second person assist if possible. Never use human shampoo, dish soap, or dog products, as these can disrupt a cat's skin barrier or be toxic. When in doubt, consult your veterinarian or a professional groomer before attempting a bath at home.
Know When to Stop and Call a Professional
If your cat becomes aggressive, extremely distressed, or is panting and unable to settle during grooming, stop immediately. Forcing a stressed cat risks injury to both you and your pet and can create lasting negative associations with handling. A certified cat groomer or your veterinarian can assist with cats that have significant handling sensitivities, and some clinics offer low-stress grooming environments specifically for anxious animals.
For a broader look at the health signals that should prompt a vet call, see warning signs your cat may need a vet visit. And because grooming overlaps with general preventive care, it pairs well with the routine cat care checklist that covers dental hygiene, parasite prevention, and annual bloodwork.