Why Composting Is Worth the Effort
Composting converts organic waste into a stable, dark, crumbly material called humus - one of the most useful inputs a home gardener can produce. When incorporated into garden beds, finished compost improves soil structure, encourages beneficial microbial life, and provides a slow, steady release of nutrients that plants can absorb over time.
Beyond garden performance, composting diverts significant household waste from landfills. The US EPA estimates that food and yard trimmings together make up roughly 24% of municipal solid waste - most of which can be composted at home. That's a meaningful environmental benefit with a direct reward for your garden.
Whether you're building a vegetable garden from scratch or improving established beds, compost is one of the most cost-effective soil improvements available. See how it compares to other inputs in our guide to soil amendments and when your garden needs them.
~24%
Share of municipal solid waste from food and yard trimmings
According to the US EPA, food and yard trimmings combined represent about 24% of what Americans send to landfills annually.
4-8 weeks
Time to finished compost with active hot method
A properly managed hot compost pile maintained at 130-160°F can produce finished compost in as little as four to eight weeks.
3:1
Ideal carbon-to-nitrogen ratio by volume
A general rule of thumb is three parts carbon-rich browns to one part nitrogen-rich greens, by volume, for efficient decomposition.
What to Compost - and What to Leave Out
Compost depends on two categories of material: browns (carbon-rich) and greens (nitrogen-rich). Getting the ratio roughly right - approximately 3 parts browns to 1 part greens by volume - is the single most important step in avoiding a slow, smelly pile.
Browns (Carbon Sources)
- Dry leaves and leaf litter
- Cardboard and newspaper (uncoated, torn into pieces)
- Straw and dried plant stalks
- Paper bags and paper towels
- Wood chips and sawdust (untreated wood only)
Greens (Nitrogen Sources)
- Fruit and vegetable scraps
- Coffee grounds and paper filters
- Fresh grass clippings
- Eggshells (technically neutral, but beneficial)
- Garden trimmings and spent plants
Materials That Can Harm Your Compost
Meat, fish, dairy, and oily foods can attract rats and other pests to an outdoor pile and generate strong odors during decomposition. Pet waste from dogs and cats may carry pathogens that a home compost pile cannot reliably destroy. Diseased plants should also be excluded - most home piles don't sustain temperatures high enough to eliminate plant pathogens.
Avoid adding meat, fish, dairy, oily foods, pet waste, diseased plants, or chemically treated wood products. These either attract pests, introduce pathogens, or decompose poorly in a home compost environment.
Choosing a Composting Method
There's no single right way to compost. Your available space, time, and the volume of material you generate will all guide the best approach.
Cold (Passive) Composting
You layer materials in a pile or bin and let decomposition happen naturally over 6-18 months. It requires minimal effort but won't reliably kill weed seeds or pathogens.
Hot (Active) Composting
By maintaining a pile of at least 3 cubic feet, keeping moisture consistent, and turning it regularly, you can sustain internal temperatures of 130-160°F (54-71°C). This speeds decomposition to as little as 4-8 weeks and does kill most weed seeds. It requires more attention but produces compost faster.
Vermicomposting
Red wiggler worms process organic matter in a contained bin - well-suited to apartment dwellers or anyone with small volumes of kitchen scraps. The resulting worm castings are exceptionally nutrient-dense.
Chop or shred all materials before adding them to the pile - smaller pieces mean more surface area for microbes to work on, which noticeably speeds decomposition.
Microbial breakdown happens at material surfaces; halving the particle size can substantially increase the rate of decomposition.
Keep a dedicated 'brown stockpile' - a bag or bin of dried leaves or torn cardboard - near your compost so you can immediately balance every green addition.
The most common reason home compost piles smell or stall is adding too many greens in a single batch without a corresponding carbon source close at hand.
Whichever method you choose, raised beds and in-ground gardens both benefit from finished compost worked into the top 6-8 inches of soil before planting.
Building and Managing Your Pile
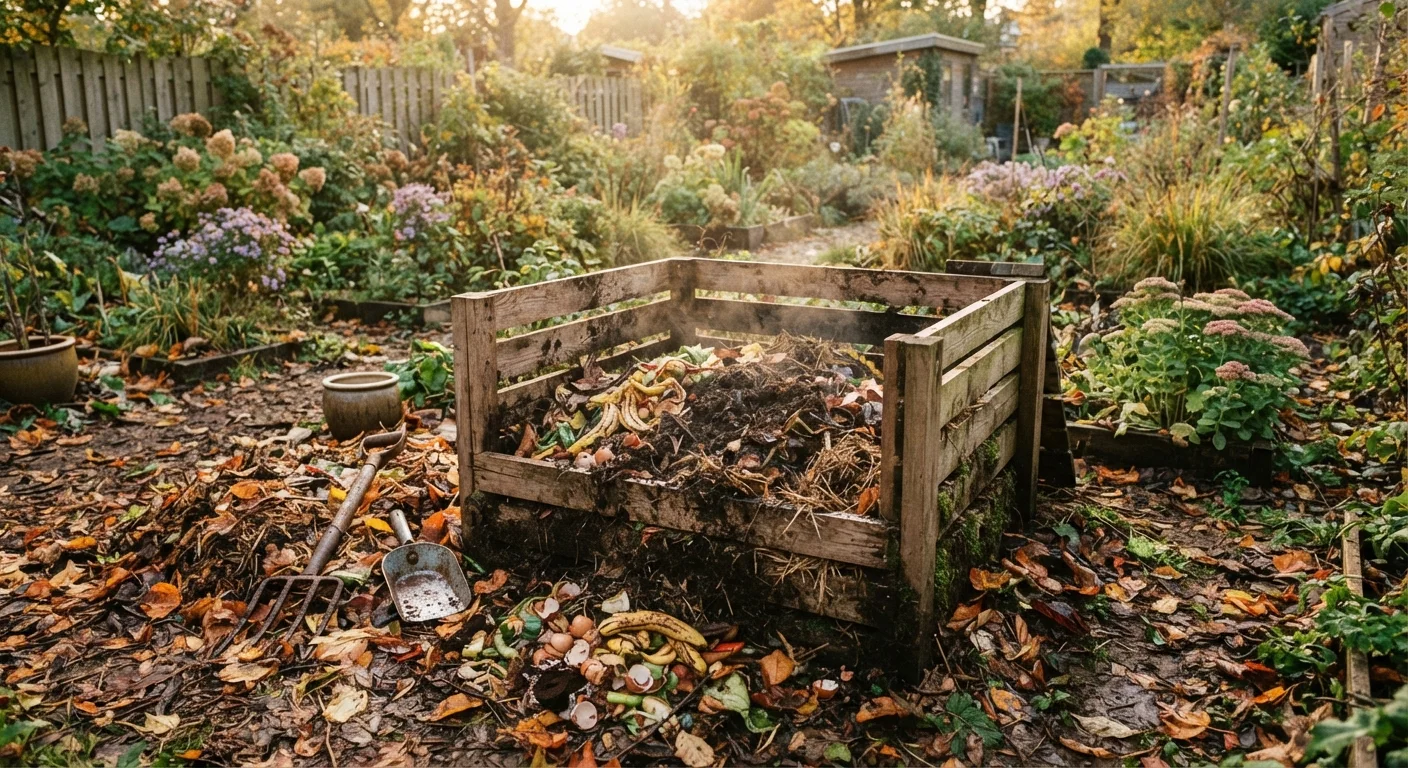
A compost pile is essentially a habitat for microorganisms. Your job is to give those microbes what they need: food (the right material mix), water, and air.
- Start with a coarse base layer. Place 4-6 inches of wood chips, straw, or coarse browns at the bottom to encourage airflow.
- Alternate layers. Add greens in 2-3 inch layers, followed by 4-6 inch layers of browns. Sprinkle with water if material is dry.
- Maintain moisture. The pile should feel like a wrung-out sponge - damp throughout but not dripping. In dry climates, covering the pile with a tarp helps retain moisture.
- Turn regularly. For hot composting, turn every 3-7 days to introduce oxygen and redistribute heat. For passive composting, turning monthly is sufficient.
- Monitor temperature. A compost thermometer (a long-stemmed probe thermometer) lets you verify that a hot pile is reaching target temperatures in its core.
Track Your Inputs for Faster Results
Keep a simple log of what you add and when you turn the pile. Even a notepad in the garage works. Patterns in what slows or stalls your pile become obvious quickly when you have a written record, saving you weeks of guesswork over a season.
Composting Through the Seasons
Microbial activity is temperature-sensitive, which means your compost pile behaves differently as seasons change.
Spring and Summer
Warm temperatures accelerate decomposition. This is the most productive period for hot composting. Monitor moisture carefully - summer heat can dry out a pile quickly, stalling activity.
Fall
Falling leaves provide an abundance of browns. Shred leaves before adding to prevent them matting into impermeable layers. Fall is an ideal time to build a large pile that will cure slowly over winter. This also pairs well with a seasonal decluttering routine that generates organic material from the yard.
Winter
Cold temperatures slow or pause decomposition in most US climates, but the pile doesn't need to stop entirely. Insulate the exterior with straw bales or extra leaves, and continue adding kitchen scraps. Activity resumes in spring. In USDA zones 8 and warmer, cold composting continues through winter with little adjustment.
Troubleshooting Common Compost Problems
Most compost issues point to one imbalance or another. Here are the most frequent problems and how to correct them.
| Problem | Likely Cause | Fix |
|---|---|---|
| Pile smells like ammonia | Too many greens, not enough air | Add browns, turn pile |
| Pile smells like rotten eggs | Too wet or compacted (anaerobic) | Turn pile, add dry browns |
| Pile is not heating up | Too dry, too small, or lacks nitrogen | Moisten, add greens, check pile volume |
| Pests or rodents | Food scraps near surface | Bury scraps, use enclosed bin |
| Pile is too slow | Materials too large | Chop or shred inputs before adding |
Don't Apply Unfinished Compost to Plant Roots
Immature compost is still actively decomposing and can temporarily tie up nitrogen in the soil, depriving plants of nutrients they need. It may also contain substances produced during early decomposition that can inhibit germination. Always allow compost to fully cure - it should be dark, earthy-smelling, and free of recognizable food scraps - before applying it directly to planting areas.
Keeping detailed notes about what you add and when you turn the pile helps identify patterns quickly - especially when troubleshooting a recurring problem.
How to Use Finished Compost in the Garden
Finished compost is dark brown, crumbly, and smells earthy - not like rotting material. Identifiable food scraps or large pieces mean it needs more time.
As a Soil Amendment
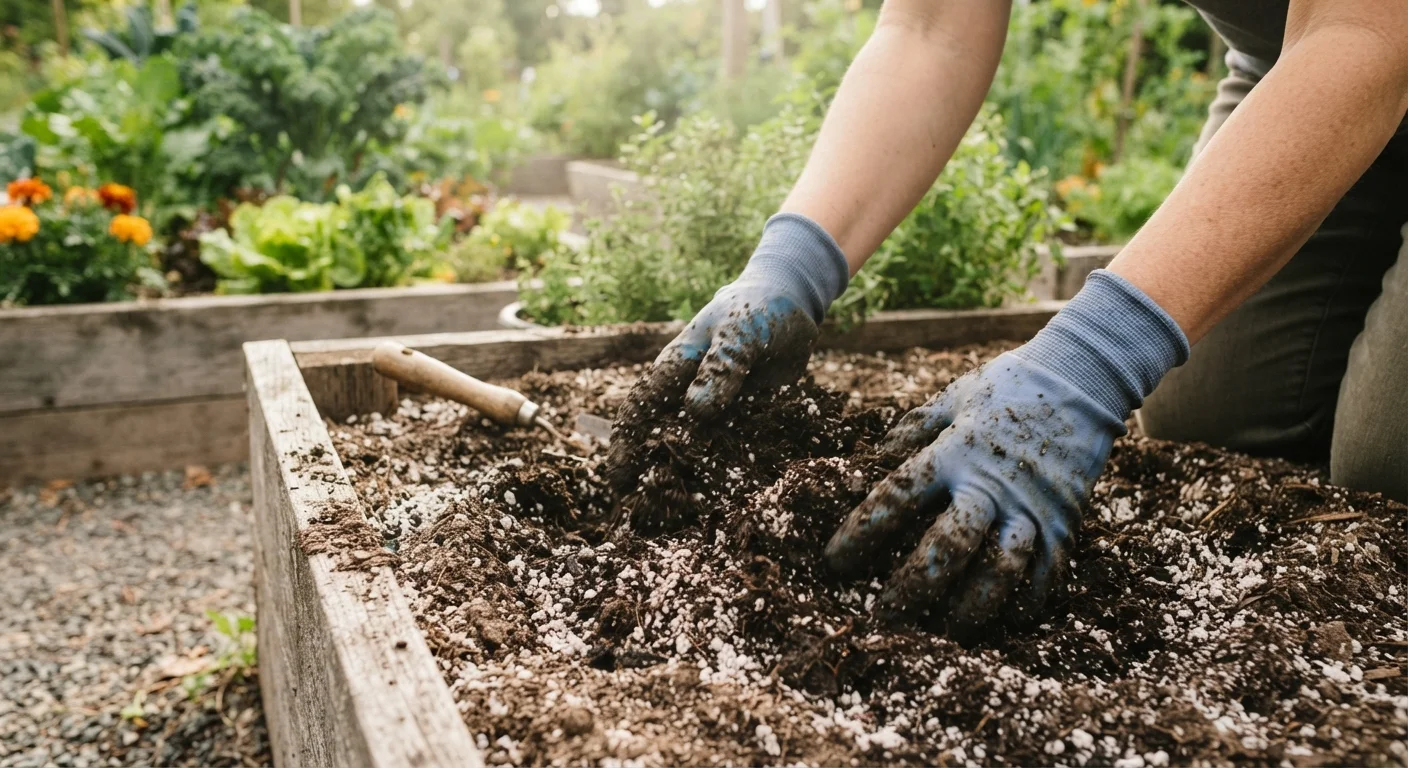
Work 2-4 inches of compost into the top 6-8 inches of existing garden beds each season. This improves drainage in heavy clay soils and water retention in sandy soils. Our guide to organic vs. synthetic fertilizers can help you understand how compost fits into a broader feeding strategy.
As a Mulch
Apply 1-2 inches of finished compost around the base of plants, keeping it away from direct contact with stems. This suppresses weeds, moderates soil temperature, and breaks down gradually into the soil. For more on mulching technique, see our guide to mulching coverage and timing.
As Compost Tea
Steep finished compost in water for 24-48 hours, then strain and use the liquid to water seedlings or established plants. This provides a mild, soluble nutrient boost, though the scientific evidence for dramatic results is mixed - treat it as a supplement, not a replacement for soil-incorporated compost.
In Containers
Blend compost with potting mix at roughly 20-30% by volume for containers. Avoid using straight compost in pots - it can compact and reduce drainage. For more on container soil planning, see our container gardening guide.
USDA Natural Resources Conservation Service: Composting
The USDA NRCS publishes plain-language guidance on composting methods, materials, and soil health applications for home and farm-scale operations.
US EPA Composting at Home
The EPA's composting resource covers what to compost, how to start, and how composting reduces household waste - a reliable reference point for beginners.
University Cooperative Extension Services
Most US states have a land-grant university extension service that publishes regionally specific composting guides, often tailored to local climate and soil conditions.