Why Containers Work on Small Patios
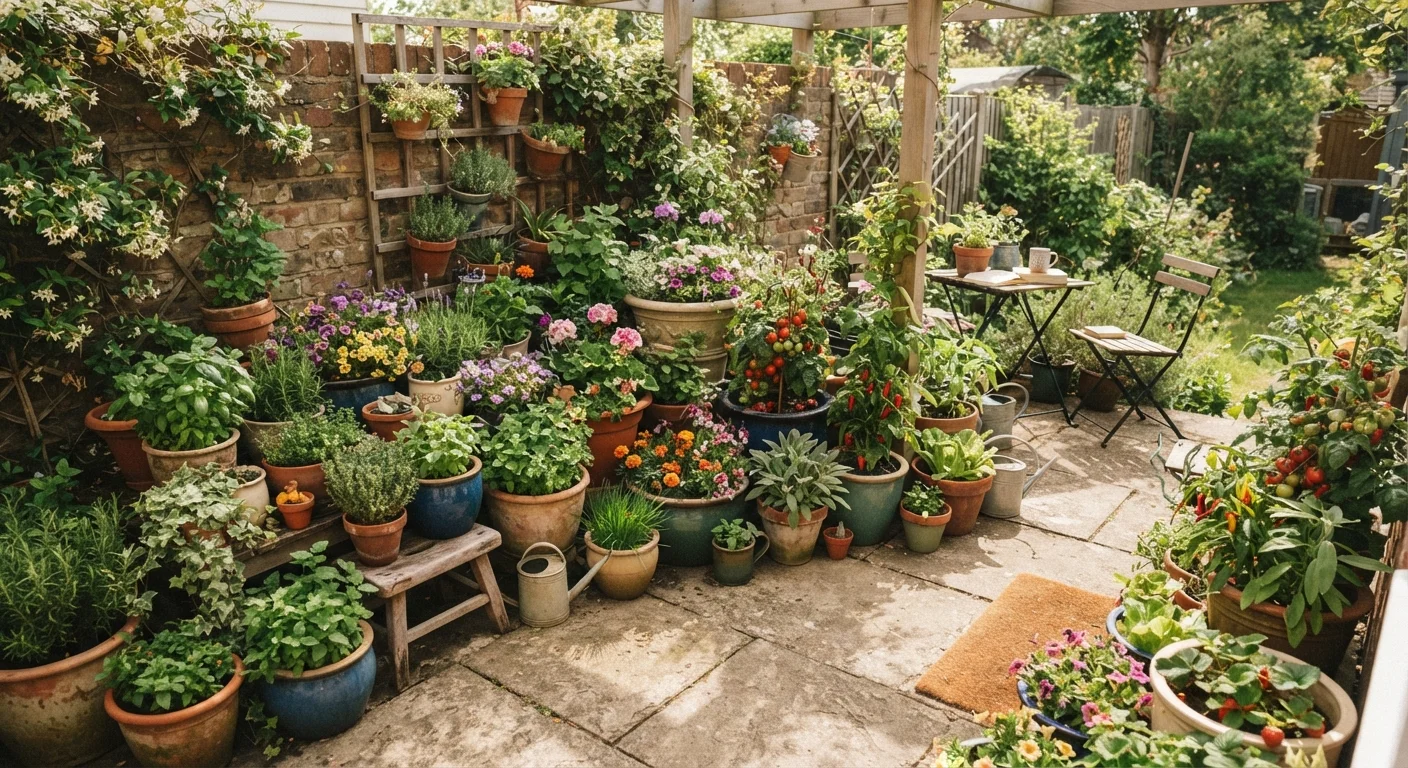
Container gardening is one of the most adaptable forms of growing - it works whether you have a 400-square-foot backyard or a 50-square-foot apartment balcony. The constraints of a small patio aren't a barrier; they're a design prompt. You're working with a defined, manageable footprint where every pot earns its place.
Unlike in-ground planting, containers let you control soil quality precisely, move plants to better light, and reconfigure your layout season to season. If you've been curious about how container gardening compares to other approaches, our overview of raised beds vs. in-ground planting lays out the tradeoffs clearly.
The steps below walk through the full planning process - from measuring your space and choosing containers to selecting the right soil and plants for your specific conditions.
What you will need
What You'll Need
Gather these tools and materials before you begin. Having everything on hand makes the setup process smoother and helps you avoid common early mistakes like underfilling containers or skipping drainage considerations.
Tape measure
Measure your patio area to map container placement and traffic flow before purchasing pots.
Containers with drainage holes
Hold plants and soil while allowing excess water to escape, preventing root rot.
High-quality potting mix
Provides the aeration, drainage, and nutrient structure that container plants require.
Saucers or drip trays
Catch water runoff to protect patio surfaces and allow brief water absorption by roots.
Slow-release granular fertilizer
Feeds container plants steadily over weeks, reducing the frequency of liquid feeding.
Watering can or hose with adjustable nozzle
Delivers water gently and precisely to containers without displacing soil.
Step-by-Step Instructions
Follow these steps in order the first time you set up your patio containers. Once the system is established, seasonal refreshes take much less time and effort.
Measure your patio and map sun exposure
Before buying a single pot, measure your patio and note where sunlight falls throughout the day. A south-facing patio may receive six or more hours of direct sun - enough for tomatoes, peppers, and most herbs. A north-facing space or one shaded by a fence may only support shade-tolerant plants like ferns, impatiens, or mint.
Use a tape measure to sketch a rough layout on paper. Mark permanent obstacles - doors, furniture, utility access points - and leave at least 24 inches of clear walkway. The remaining usable area is your planting footprint.
Choose containers sized to your plants, not your space
The most common container gardening mistake is choosing pots based on aesthetics alone. Root volume determines plant health. As a general guide: herbs and small annuals need at least a 6-inch pot; compact vegetables like lettuce or radishes need 8-12 inches of depth; tomatoes, peppers, and larger perennials need containers at least 14-18 inches in diameter and equally deep.
Every container must have drainage holes. Without them, water pools at the root zone, starving roots of oxygen and inviting rot. If you fall in love with a decorative pot that lacks holes, use it as an outer sleeve and nest a draining inner pot inside it.
Select and prepare the right growing medium
Never fill containers with soil dug from the ground. In-ground garden soil compacts in pots, blocking drainage and suffocating roots. Use a bagged potting mix formulated for containers - these typically combine peat moss or coco coir, perlite, and composted bark to balance moisture retention with airflow.
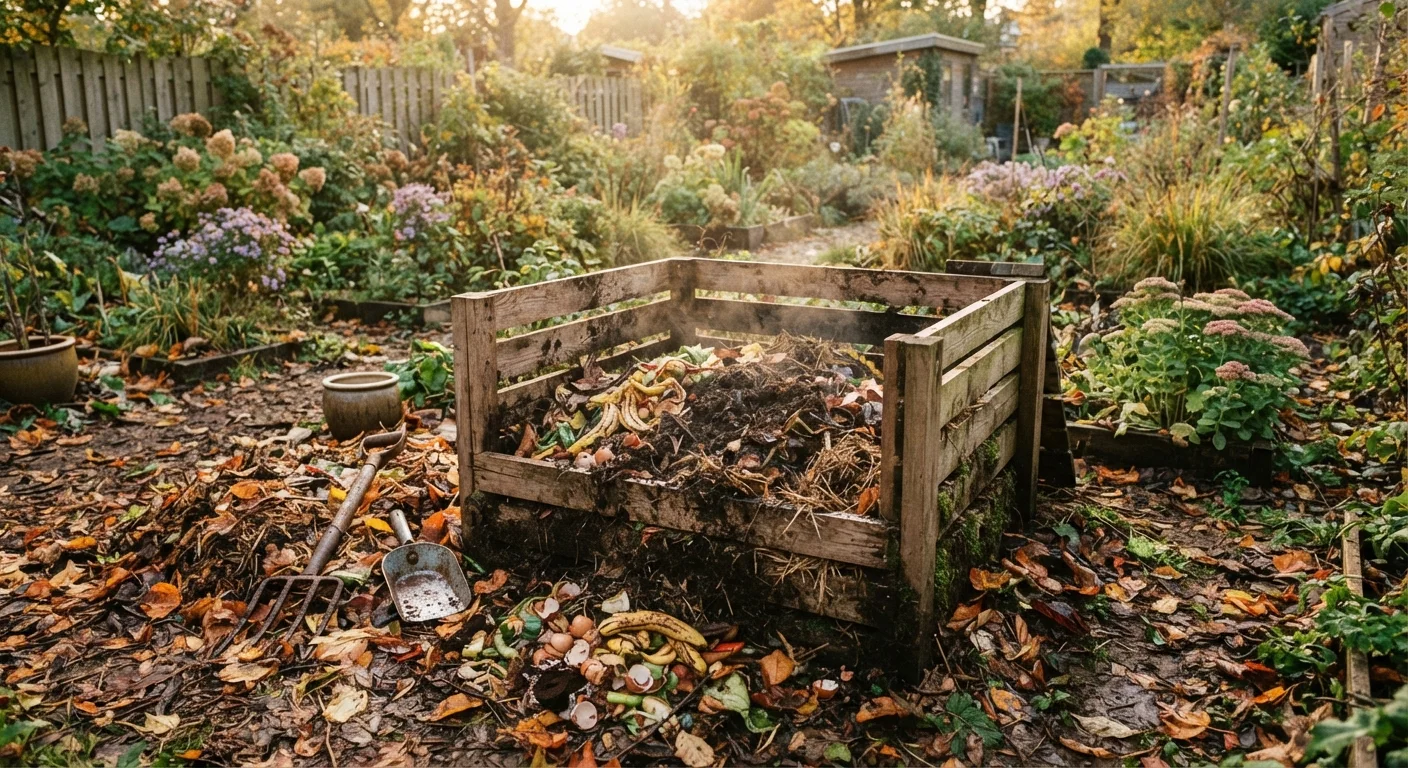
For edibles, choose a potting mix with low starter fertilizer levels and plan to supplement. For succulents and Mediterranean herbs like rosemary and lavender, add extra perlite (roughly one part perlite to three parts mix) to increase drainage. If you have access to finished compost, incorporating a small amount - about 10-15% by volume - can improve microbial activity. See our guide to composting at home for how to produce and use your own.
Select plants suited to containers and your conditions
Not every plant thrives in a pot. Look for varieties described as 'compact,' 'dwarf,' or 'patio' on seed packets or plant tags - these are bred for limited root space and smaller overall size. Strong performers for sunny patios include basil, cherry tomatoes, bush beans, marigolds, zinnias, and nasturtiums. For shadier spots, consider leafy greens, parsley, begonias, or hostas.
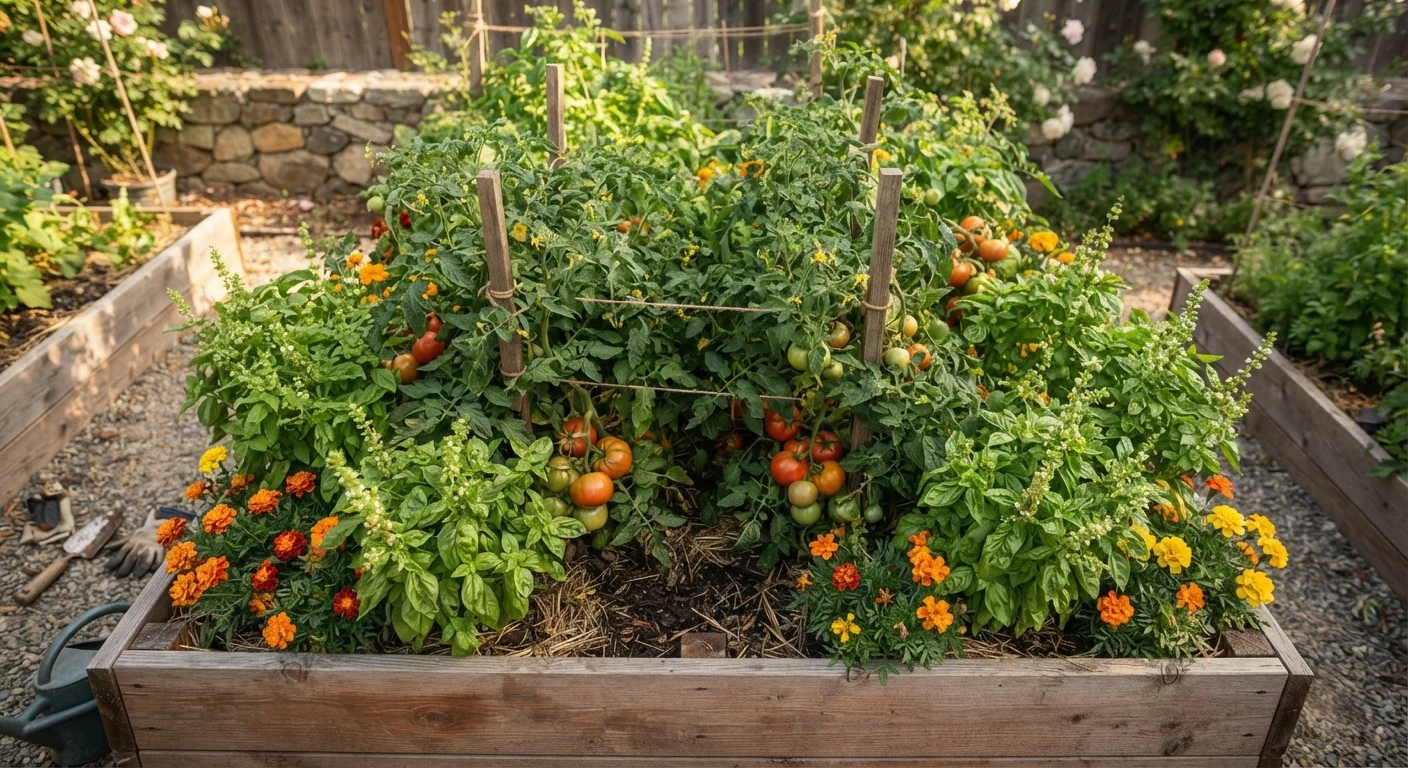
Group plants with similar water and light requirements in the same container. Pairing drought-tolerant rosemary with moisture-loving basil, for example, sets one of them up to fail. Our article on companion planting combinations covers pairings that actively benefit each other.
Establish a watering and feeding routine
Containers dry out significantly faster than in-ground beds - sometimes daily in summer heat. Check soil moisture by pressing a finger about an inch into the mix. If it feels dry at that depth, water thoroughly until it flows freely from the drainage holes, then stop. Shallow, frequent watering encourages weak, surface-level roots.
Because frequent watering leaches nutrients from potting mix, container plants need regular fertilization. A slow-release granular fertilizer worked into the soil at planting can sustain plants for several weeks; supplement with a diluted liquid fertilizer every two to three weeks during the growing season.
Plan for seasonal transitions
One advantage containers have over in-ground plantings is flexibility. When warm-season plants like tomatoes or petunias finish, empty those pots, refresh the potting mix with a small amount of compost or new mix, and replant with cool-season varieties - kale, ornamental cabbage, pansies, or mums.
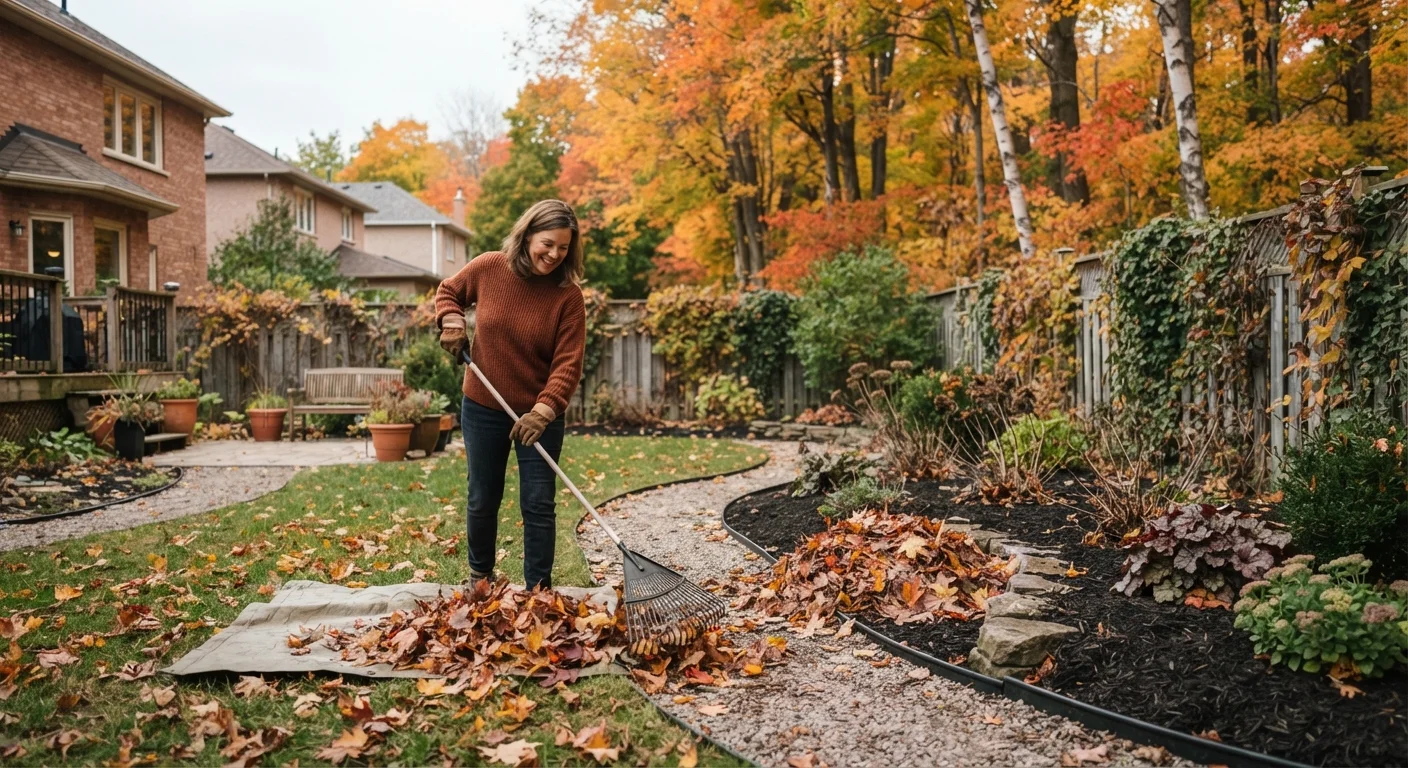
Before the first frost, tender perennials in containers (such as citrus, gardenia, or tropical ornamentals) can often be moved indoors to a bright window or garage to overwinter. Our fall yard prep checklist walks through the full process of protecting outdoor plants before cold sets in.
Vertical Space Is Underused Space
Wall-mounted planters, tiered plant stands, and hanging baskets can triple your planting area without expanding your floor footprint. Vertical arrangements also improve air circulation around plants, which reduces fungal disease pressure. Consider trellises for climbing plants like small cucumbers or sweet peas to draw the eye upward and add visual depth.
Weight Loads on Elevated Patios and Balconies
If your patio is above ground level - a second-story balcony or a rooftop deck - soil-filled containers can be surprisingly heavy. A 15-inch pot filled with moist potting mix can weigh 40-60 pounds. Before loading up an upper-level deck with multiple large containers, consult your building's load specifications or a structural professional. Distribute weight near load-bearing walls or beams rather than concentrating it in one spot.
Troubleshooting Common Container Problems
Even well-planned container gardens hit snags. Here are the most frequent issues and their practical fixes:
- Yellowing leaves: Often signals overwatering, poor drainage, or nutrient deficiency. Check soil moisture first, then consider whether the plant has been fertilized recently.
- Wilting despite moist soil: A sign of root rot. Examine roots - healthy roots are white or tan; rotted roots are brown and mushy. If rot is found, trim affected roots, let the plant dry slightly, and repot in fresh mix with better drainage.
- Leggy, stretched growth: The plant isn't getting enough light. Relocate the container to a brighter spot or choose more shade-tolerant plants for that area.
- Soil pulling away from pot edges: Dry, hydrophobic soil. Soak the container in a basin of water for 20-30 minutes to rehydrate the mix fully before resuming normal watering.
For gardeners interested in expanding beyond the patio, starting a vegetable garden from scratch offers a thorough look at planning a full in-ground or raised-bed setup. And if maximizing a small footprint extends to your indoor spaces as well, the principles behind smart storage in compact homes often translate directly to how you organize patio gear and gardening supplies.
Drainage Is Non-Negotiable
No amount of careful watering overcomes a container with no drainage. Standing water at the root zone deprives roots of oxygen within days and creates conditions for fungal pathogens. Before planting anything, verify that every container has functional drainage holes and that saucers are emptied within a few hours of watering - never left full overnight.